Affiliate disclosure: Some links on this page go to Amazon. If you buy something through one of them, we earn a small commission — at no extra cost to you. It never changes the price you pay, and it never decides what we recommend.
Canning Is Not the Only Way, and It Is the Hardest One
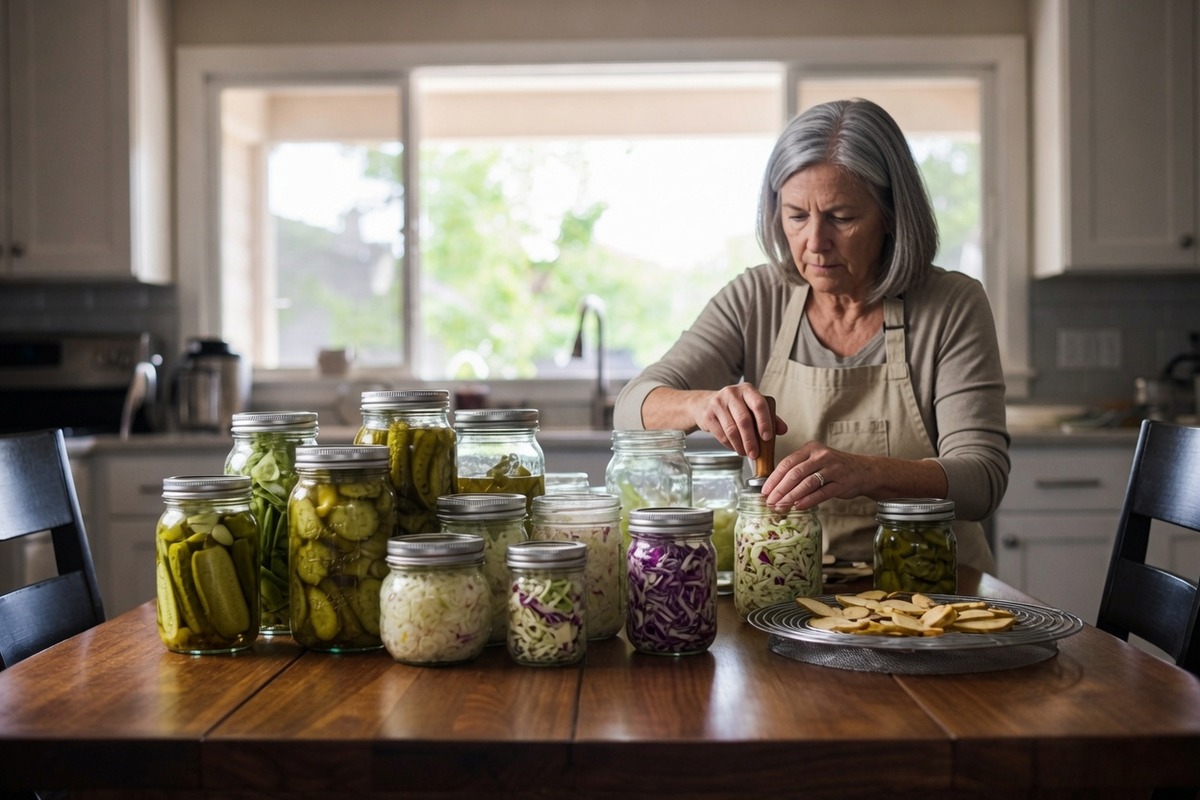
The canning shelf gets all the attention, and it earns it — but it is also the heaviest, hottest, most physical way to put food up. You are lifting a pot of boiling water, hoisting hot full jars out of it, and standing over a stove in August.
There are two other methods, both older than canning, and both a great deal gentler on you.
Fermenting uses no heat at all. You put vegetables under salt water and let the bacteria that are already on them do the work. Sauerkraut, kimchi, half-sour pickles, hot sauce. The equipment is a crock or a jar, something to hold the food under the brine, and salt.
Drying uses no water. You take the moisture out until nothing can grow, and what is left keeps on a shelf without a seal, a jar or a freezer. Apples, tomatoes, herbs, jerky, mushrooms. The equipment is a dehydrator and some patience.
And here is the part nobody mentions. Dried food weighs almost nothing and stores in a fraction of the space. A bushel of tomatoes becomes a quart jar. If you have ever looked at a full canning shelf and thought about what it would take to move it, or to lift it down, that is worth something all by itself.
Fermenting — The Crock, the Weight, and the Salt
 This is the oldest food preservation on earth and the equipment list is almost insultingly short. The
whole business comes down to one rule: the vegetables must stay under the brine. What is
under the liquid ferments. What floats above it goes moldy. Every piece of gear below exists to solve
that one problem.
This is the oldest food preservation on earth and the equipment list is almost insultingly short. The
whole business comes down to one rule: the vegetables must stay under the brine. What is
under the liquid ferments. What floats above it goes moldy. Every piece of gear below exists to solve
that one problem.
Pick one: a crock, or your existing jars
A stoneware fermenting crock is the traditional answer and it is a genuine buy-once item — the good ones outlive their owners. It has a water channel around the rim that lets gas escape and lets nothing in, and it comes with heavy stone weights that hold everything down. Sizes run from about two liters up to twenty. Fermenting crocks are not cheap, but you will never buy a second one.
🏺 The Buy-Once
Stoneware Fermenting Crock
Water-channel rim, heavy stone weights included. Two liters up to twenty. Not cheap, and you will not be buying another one in your lifetime.
Fermenting crocks →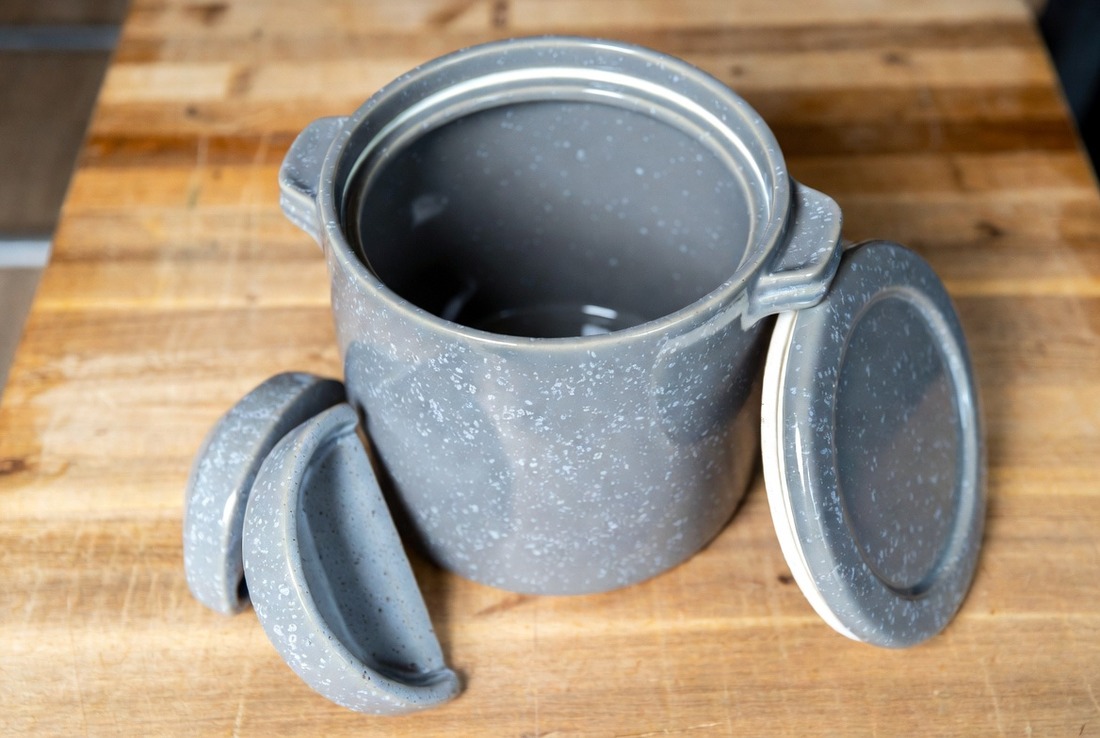
Or you can skip the crock entirely. Wide-mouth Mason jars — the same jars off the canning shelf — do the job with two small additions: glass fermentation weights that sit on the vegetables and hold them under, and airlock lids that let the carbon dioxide out without letting air in. A set of both costs less than a single small crock. If you already own the jars, start here. Buy the crock later if you find you like it.
🫙 The Thirty-Dollar Start
Weights and Airlock Lids for Jars You Own
The cheapest way in. Glass weights hold the vegetables under the brine; airlock lids let the gas out without letting air in. Wide-mouth only — measure your jars first.
Fermentation weights →Airlock lids →The rest of the list, and it is short
- Salt without additives. Ordinary table salt carries iodine and anti-caking agents that can cloud a ferment or slow it down. Plain pickling or canning salt, or plain sea salt, and nothing else on the label.
- A kitchen scale. Not optional, and this is the one real precision item on the page. Fermenting is done by ratio — a percentage of salt to the weight of vegetables and water — and eyeballing it is how ferments fail. A digital scale that reads grams costs about fifteen dollars.
- A wide-mouth funnel if you are jar-fermenting. The same one off the canning shelf.
- Something to pack with. A wooden tamper is sold for this; the end of a rolling pin works.
- A dark, cool corner. Not equipment, but it is the other half of the job. A basement step, a pantry floor, the back of a closet.
⚖️ The One Precision Item
Plain Salt and a Gram Scale
Fermenting is done by ratio, not by eye. Salt with no iodine and no anti-caking agent, and a scale that reads grams. Together they cost less than a single crock.
Pickling salt →Gram scales →What fermenting will not do. It is not a substitute for canning when it comes to long-term shelf storage at room temperature. A finished ferment goes in the refrigerator or a cold cellar, where it keeps for months rather than years. If you want jars that sit on a warm shelf until next spring, that is canning — and the water-bath canner is still the tool.
Quick Pickles — The One That Needs Almost Nothing
Worth separating out, because people confuse the two and they are not the same thing at all.
A fermented pickle is made with salt and time and the bacteria do the souring. A quick pickle — sometimes called a refrigerator pickle — is made with vinegar, which does the souring for you in an afternoon. No fermenting, no crock, no waiting a fortnight.
The equipment is a jar and a saucepan. That is the entire list. You warm vinegar with salt and whatever spice you like, pour it over the vegetables in the jar, and put it in the refrigerator. It is ready the next day and keeps for weeks.
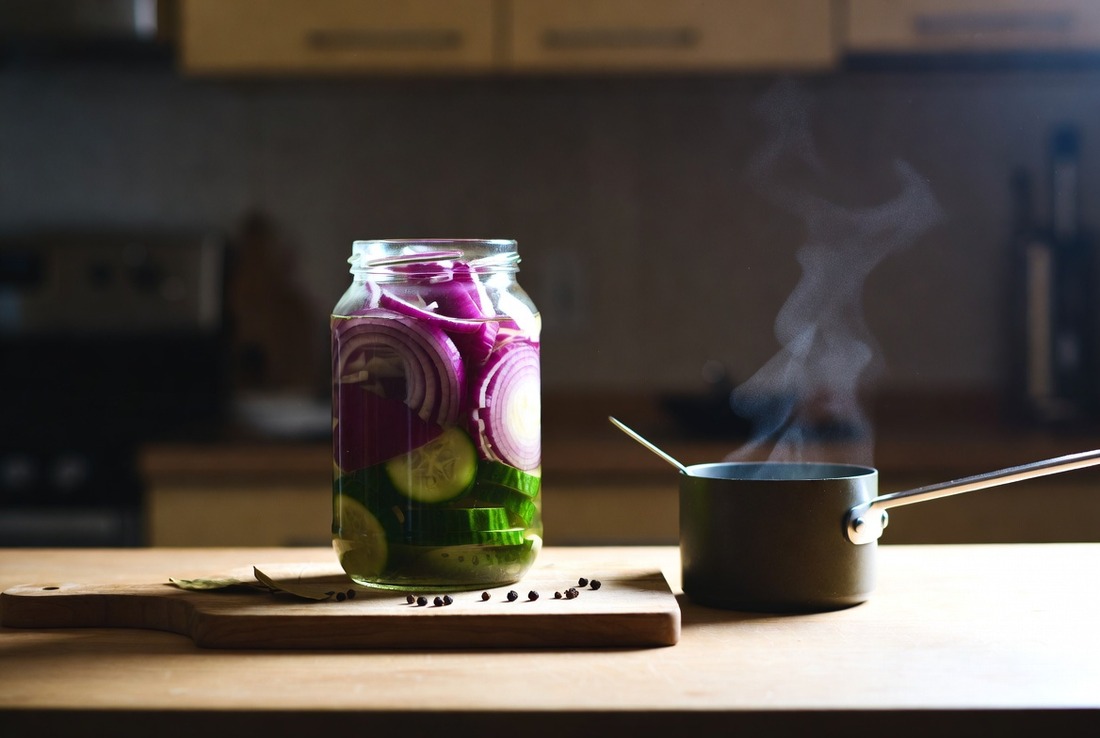
This is the best possible place to start if you have never preserved anything. It costs nothing you do not already own, it takes twenty minutes, and it fails safely — a refrigerator pickle that goes wrong just tastes wrong. Do a jar of cucumbers or red onions this week and see whether you enjoy the work before you spend a dollar on gear.
Drying — What Actually Matters When You Buy a Dehydrator
You can dry food in an oven, and people do. But an oven's lowest setting is usually too hot, it ties up the stove for eight hours, and it heats the house in the season when you have the most produce. A dehydrator is the tool, and there are only three things worth caring about when you buy one.
One — an adjustable thermostat
Different foods dry at different temperatures, and it is not a small difference: herbs want the lowest setting, fruit and vegetables sit in the middle, and meat for jerky needs the top of the range for safety reasons. A dehydrator with one fixed temperature cannot do all three. This is the single specification that separates a machine you will keep from one you will regret, and the cheapest units are exactly the ones that lack it.
Two — where the fan is
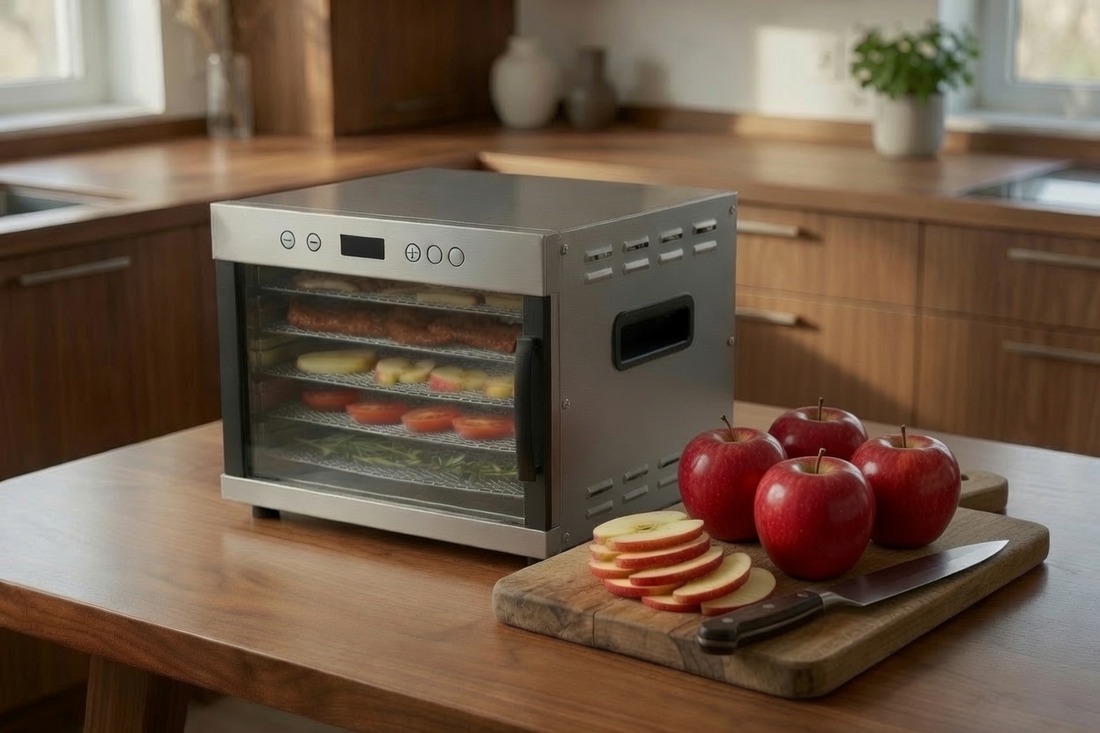
Stackable round dehydrators blow air from the bottom or the top, which means the trays nearest the fan finish first and you spend the day rotating them. Box-style units with the fan at the back push air across every shelf at once. You pay more for the box and you stop rotating trays. Past fifty, with a bad back or a stiff shoulder, that is not a luxury feature — it is eight fewer times you bend over a hot machine.
Three — a timer that shuts it off
Drying takes six to twelve hours, so the machine runs overnight or while you are out. A timer means it stops on its own instead of running until somebody remembers it.
Dehydrators with an adjustable thermostat and timer start modestly and go a very long way up. The middle of the range is where the sense is.
🌡️ The Spec That Decides It
Box-Style Dehydrator, Thermostat and Timer
Adjustable temperature so herbs, fruit and jerky can all be done properly. Fan at the back, not the base, so you are not rotating trays all day. A timer so it stops on its own overnight.
Dehydrators →Mesh screens & leather sheets →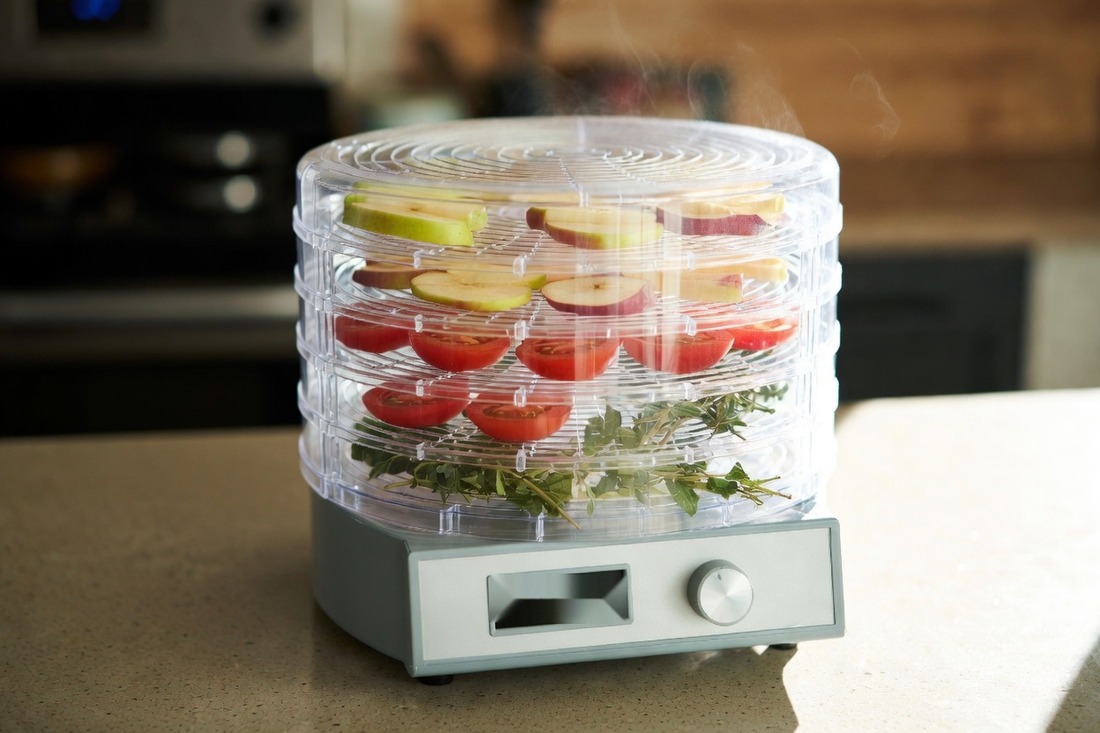
The two accessories that are worth it
- Mesh screens. Small things — herbs, berries, sliced chillies — fall straight through a standard tray. Mesh liners cost a few dollars and save the crop.
- Fruit-leather sheets. Solid trays for anything wet: purées, sauces, tomato paste. Usually sold alongside the screens.
 The step everybody skips, and it is the one that ruins the batch.
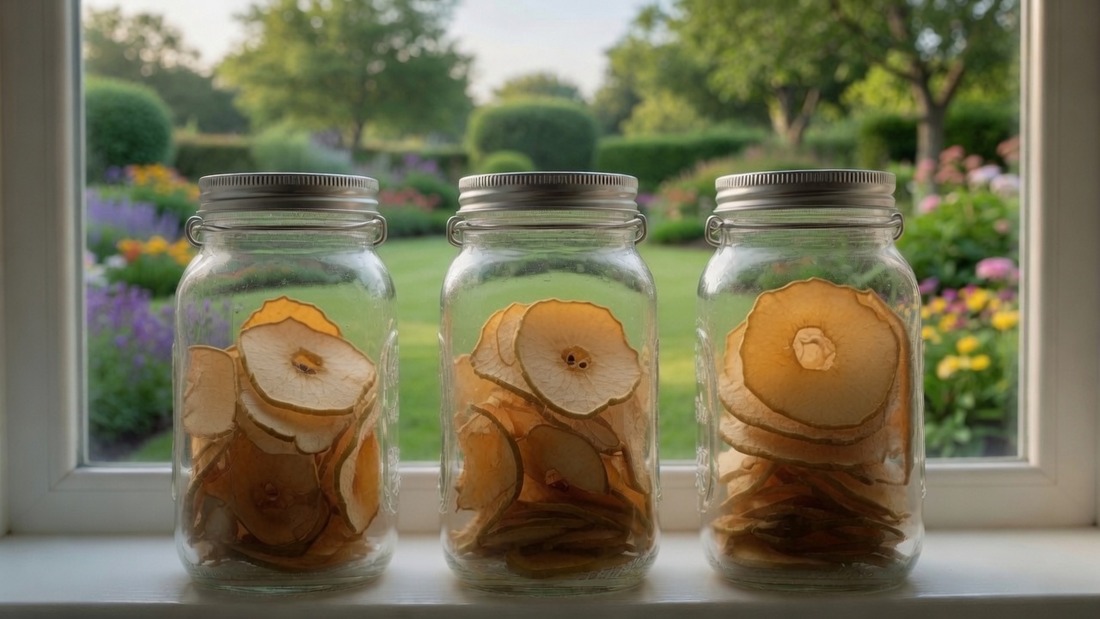
It is called conditioning. Dried food comes off the trays with slightly different moisture in
different pieces, so you put it all in a jar for a week and shake it once a day. The moisture equalises,
and if any condensation appears on the glass, it was not dry enough and goes back in the machine. Skip
this and you find mold in a jar you thought was finished. It costs nothing but a week of
shaking a jar.
The step everybody skips, and it is the one that ruins the batch.
It is called conditioning. Dried food comes off the trays with slightly different moisture in
different pieces, so you put it all in a jar for a week and shake it once a day. The moisture equalises,
and if any condensation appears on the glass, it was not dry enough and goes back in the machine. Skip
this and you find mold in a jar you thought was finished. It costs nothing but a week of
shaking a jar.
Where the How-To Lives — On Purpose
You will have noticed there are no recipes on this page and no processing times. That is deliberate, and it is the same policy as the canning shelf.
Ratios, times and temperatures are the part that has to be right, and they belong in a tested book that somebody has checked rather than on a website. For fermenting and drying the good ones are easy to find — the Ball Complete Book of Home Preserving covers all of it including pickles and dried goods, and there are dedicated fermentation books worth having if you take to it.
Free and authoritative: the National Center for Home Food Preservation at the University of Georgia publishes tested procedures for drying, curing and pickling, and it costs nothing to read. It is the source the books themselves cite — and the one the USDA’s own Food Safety and Inspection Service sends home preservers to.
 One honest safety note, and only one, because it is the one that matters.
Fermenting vegetables and drying fruit are both low-risk when done properly — considerably lower risk
than pressure canning. Drying meat is the exception. Jerky has real requirements around temperature and pre-heating, and that is precisely the sort of thing you look up in the book rather than work out from a video. Everything else on this page is forgiving. That one is not.
One honest safety note, and only one, because it is the one that matters.
Fermenting vegetables and drying fruit are both low-risk when done properly — considerably lower risk
than pressure canning. Drying meat is the exception. Jerky has real requirements around temperature and pre-heating, and that is precisely the sort of thing you look up in the book rather than work out from a video. Everything else on this page is forgiving. That one is not.
Worth being exact about why, because the warning gets repeated carelessly. The CDC lists home foods that were improperly canned, preserved or fermented among the common sources of botulism — and fermenting is genuinely in that sentence. But the fermented cases on record in this country are overwhelmingly fish and other aquatic animals, prepared in low-oxygen conditions and eaten without cooking.
A crock of cabbage is a different animal. Souring vegetables produces acid, and the bacterium cannot grow below a pH of 4.6 — which is the same reason pickles and most fruit are safe in a water bath while green beans are not. Ferment vegetables and you are in the safe half of that sentence. Ferment or dry meat and fish and you are not, which is why those two belong in the book.
Why This Matters More at Fifty Than You Think
Here is something worth knowing about your own body, and it is the quiet argument underneath this entire page.
Grip strength is the first thing to go, and it starts going at fifty.
Hand strength peaks in the early thirties. By fifty a man has lost roughly eight per cent of it and a woman about four and a half; by sixty that is eleven and fourteen per cent; by seventy-nine it is close to thirty per cent for both. And the rate itself gets steeper during the fifties — that decade is where the slope changes.
Now the part that ought to make you sit up. A ten-year study followed the same people and measured three things: grip, balance and walking gait. The consistent loss of grip begins at fifty. The worst deterioration in balance does not arrive until sixty, and in gait not until seventy.
Your hands go first. Twenty years before your legs.
And the kitchen is where hands do everything. Opening the jar. Twisting the ring down. Holding a full pot with a wet towel. Gripping a knife through half a bushel of tomatoes. Long before anybody has trouble on the stairs, they are standing at the counter having trouble with a lid.
Which is exactly why these two methods deserve a place beside the canner:
- Nothing is hot. A ferment is done at room temperature. There is no boiling pot to lift and nothing to burn you.
- Nothing is heavy. A jar of cucumbers weighs a pound or two. A full water-bath canner weighs upwards of forty and you are lifting it off a stove.
- Nothing is urgent. Canning day runs on the clock — jars in, jars out, at temperature, on time. A ferment waits for you. If you feel poorly on Tuesday you deal with it Thursday.
- Dried food is light. A shelf of quart jars of dried apple slices is a fraction of the weight of the same fruit in syrup, and you can lift it down one-handed.
 And the good news, which is real. Of those three — grip,
balance, gait — grip is the one that responds best to being worked, and it keeps responding into the
seventies and eighties. It is the first to decline and the easiest to hold onto. Most people never think
about it until a jar will not open, which is thirty years late to start. More on hands and the tools that suit them →
And the good news, which is real. Of those three — grip,
balance, gait — grip is the one that responds best to being worked, and it keeps responding into the
seventies and eighties. It is the first to decline and the easiest to hold onto. Most people never think
about it until a jar will not open, which is thirty years late to start. More on hands and the tools that suit them →
Nobody Ever Did This Alone — and There Is a Standard Split

Ask anybody who has been retired two years and they will tell you the same thing, usually with some surprise: they are busier now than they were when they had a job. Financial planners write about it as a hazard — people come out of forty years of structure, find that nothing on the calendar comes looking for them any more, and sign up for everything going.
That is worth knowing before you start, because it cuts both ways. The busyness is real. So is the fact that the people around you have the same problem, and most of them would rather be useful than merely occupied.
The arrangement already exists, and it is older than any of us
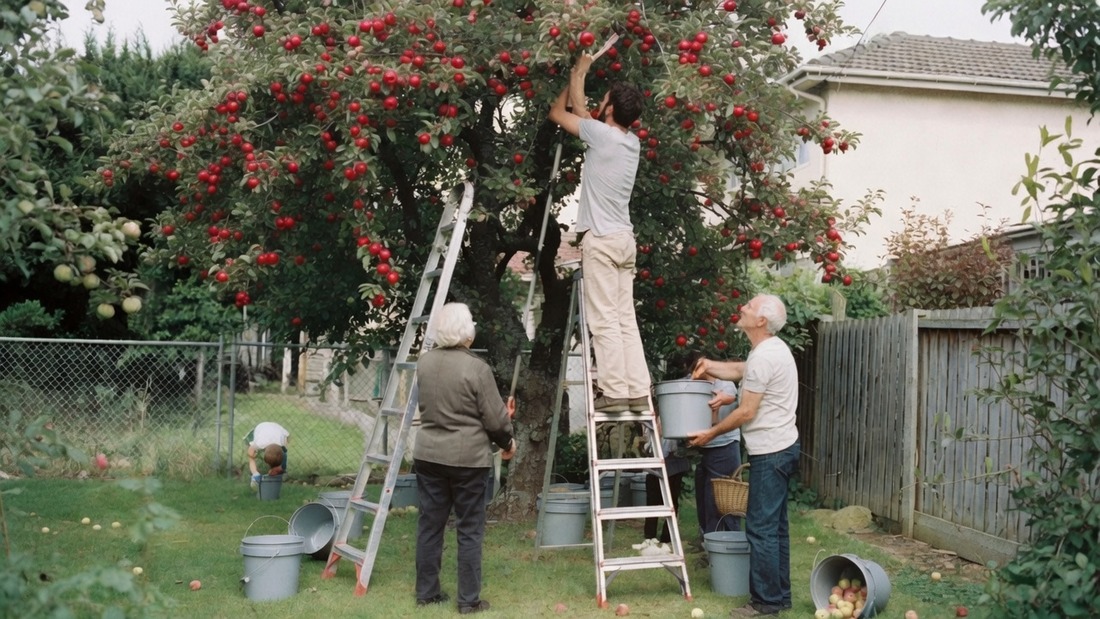
Here is the part that surprised us when we went looking. What you are imagining — neighbors turning up to help with a harvest and going home with a share of it — is not a nice idea somebody ought to try. It is an established practice with organized groups in most states and a conventional way of dividing the take.
It is called gleaning, and the standard arrangement is a three-way split: a third to the person whose tree or garden it is, a third to the people who did the picking, and a third to a local food pantry or community kitchen. Everybody goes home with something and nothing rots on the ground.
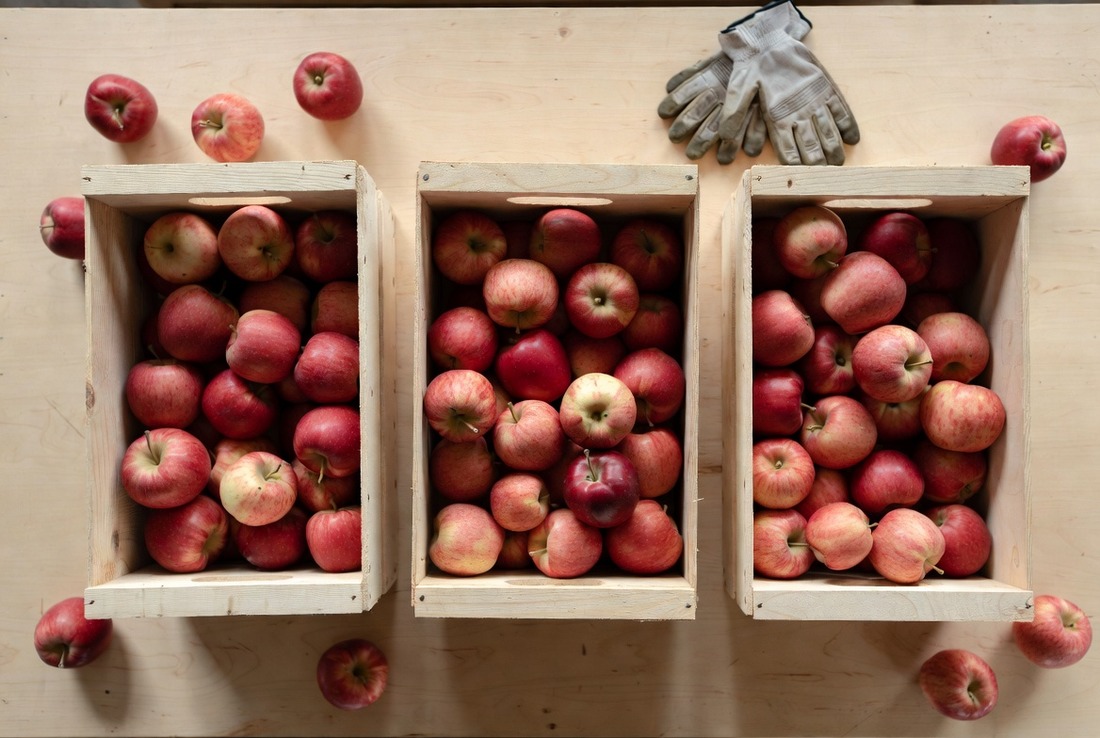
The scale of what is being wasted is the reason these groups exist at all. One volunteer outfit in a single California city has gleaned twenty-three tons of citrus, apples, plums and persimmons over about a decade — and reckons five times that much surplus backyard fruit still goes unpicked in that one town. Another county program puts it plainly: nearly a quarter of a million yards in their area have food growing in them, and they have run a thousand picks across five hundred sites and are still nowhere near keeping up.
Groups doing this run under names like Fruit Tree Project, Community Harvest, Backyard Growers and Neighborhood Harvest, from Portland to Baltimore to Kansas City. There is very likely one within driving distance of you. One of them puts the point better than we could: it is neighbors getting to know neighbors, and the extra harvest is what gets them into the same yard.
Why this suits preserving in particular
Picking is the easy half. The bottleneck has always been what happens next — six bushels arriving at once, all of it ripening on the same three days, and one person at a sink.
That is exactly the work that goes faster with company, and it is the reason the old word for it was a bee. One person washes, one slices, one loads trays, one keeps the jars moving. The gleaning groups have worked this out too — several of them now pair harvest days with people who preserve, turning the split fruit into sauce and butter rather than watching a third of it spoil in somebody's kitchen.
And there is a quieter benefit. In one long-running sharing garden, a good number of the volunteers did their first-ever canning on a harvest day, standing next to somebody who already knew how. Nobody learns this from a book alone. They learn it beside a person doing it.
How to start it on your own street, which is smaller than it sounds
- Look up first, before you organize anything. Search your county name with “gleaning” or “fruit tree project”. If a group already runs near you, join it for a season rather than building your own from nothing.
- Start with the person whose tree it is. Most surplus fruit belongs to somebody who is either too busy or no longer able to get up a ladder, and is quietly embarrassed about the mess on the lawn. That conversation is usually a relief to them, not an imposition.
- Say the split out loud before anybody picks anything. A third, a third, a third — or whatever you agree — settled at the start. Almost every falling-out over this comes from nobody having said it.
- Pair the picking day with a putting-up day. Two afternoons, not one. The fruit will wait a day in a cool room; it will not wait a week.
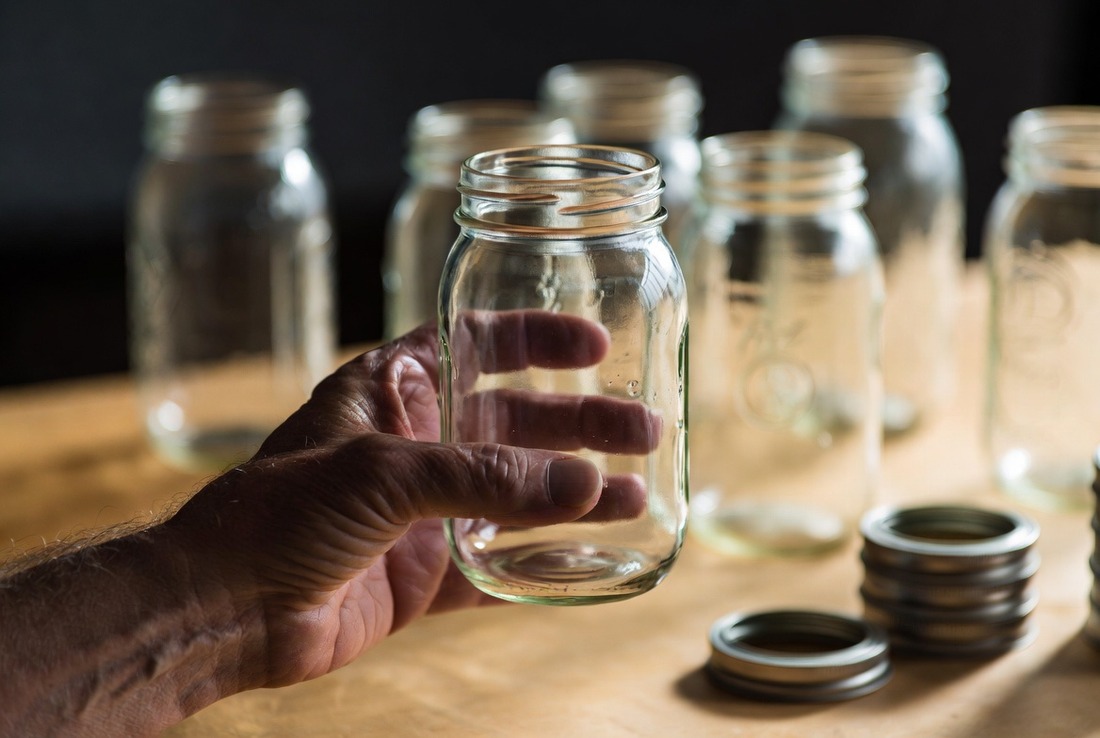
- Let people bring their own jars. It saves an argument about whose are whose, and everybody goes home with their own labor in their own glass.
Two honest cautions, because this is the bit the cheerful articles leave out. Local rules vary a great deal — some municipalities restrict agricultural sales or public distribution from residential property, so if money or a stall is ever involved, check before rather than after. And there is ordinary liability in having people on your land: somebody slips on wet grass, or takes home something raw that disagrees with them. Giving away your own surplus among people you know is one thing; running something that looks like a business is another, and the line between them is worth knowing before you cross it.
None of that is a reason not to do it. It is a reason to keep it what it plainly is: a few people you know, a tree that is dropping fruit anyway, and a fair split agreed before anybody picks up a bucket. The same arrangement exists for firewood and for groceries, already organized and already running — see wood banks and senior food programs.
Buy It at 50 — The Cheapest Shelf You Will Ever Fill
Set against the canning shelf, this is almost nothing. Weights and airlock lids for jars you already own; a bag of proper salt; a fifteen-dollar scale. A decent dehydrator is the only real expense on the page, and it is a one-time one that will still be running in twenty years.
Start with the quick pickle, because it costs nothing and tells you in a day whether you enjoy this kind of work. If you do, the jar-and-weights fermenting kit is the next thirty dollars. The crock and the dehydrator come after that, if at all.
And do it now rather than later, for the reason above. Not because anything is wrong with you at fifty — but because the equipment you learn while your hands are strong is the equipment you can still use when they are not. A man who has been fermenting for fifteen years does it without thinking. A man starting at seventy-five is learning a new skill with less to learn it with.
The best time was at fifty. The next best is this weekend, with a jar of cucumbers and some vinegar.
🔗 The Rest of Putting Food Up
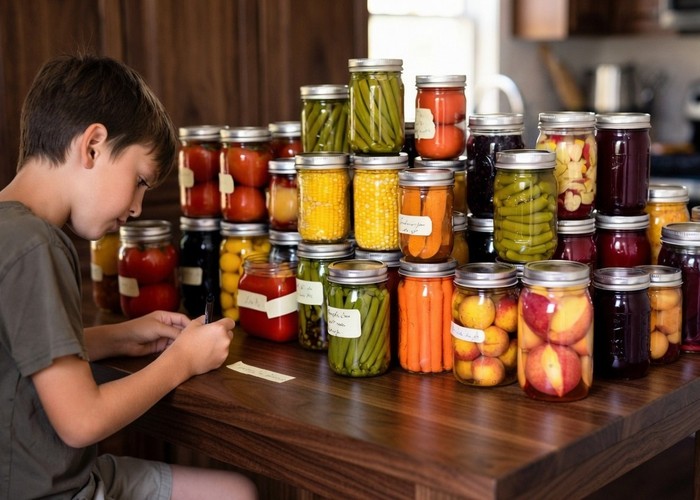
The Canning Shelf
Buy it once, fill it every fall. Which canner you actually need, the jars that outlast you, the lids you rebuy every year, and the tested book that holds all the how-to on purpose.
Read the guide →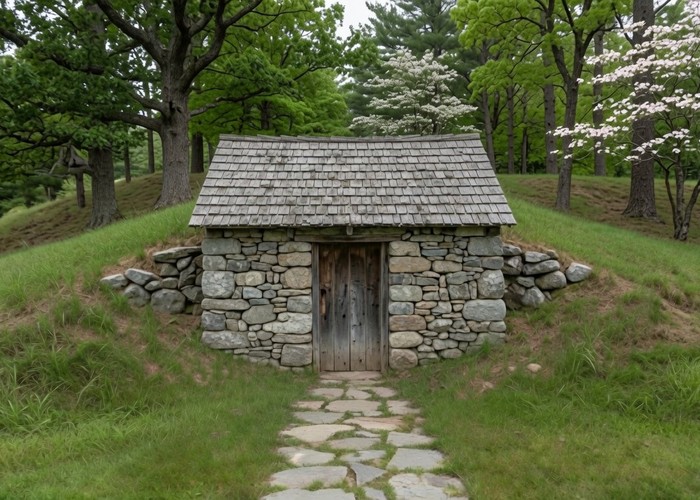
The Spring House
Refrigeration with no power, no compressor and nothing to break — and the reason it existed was not storage at all. It was the gap between when the garden forces your hand and when you can actually get to the work.
Read the guide →