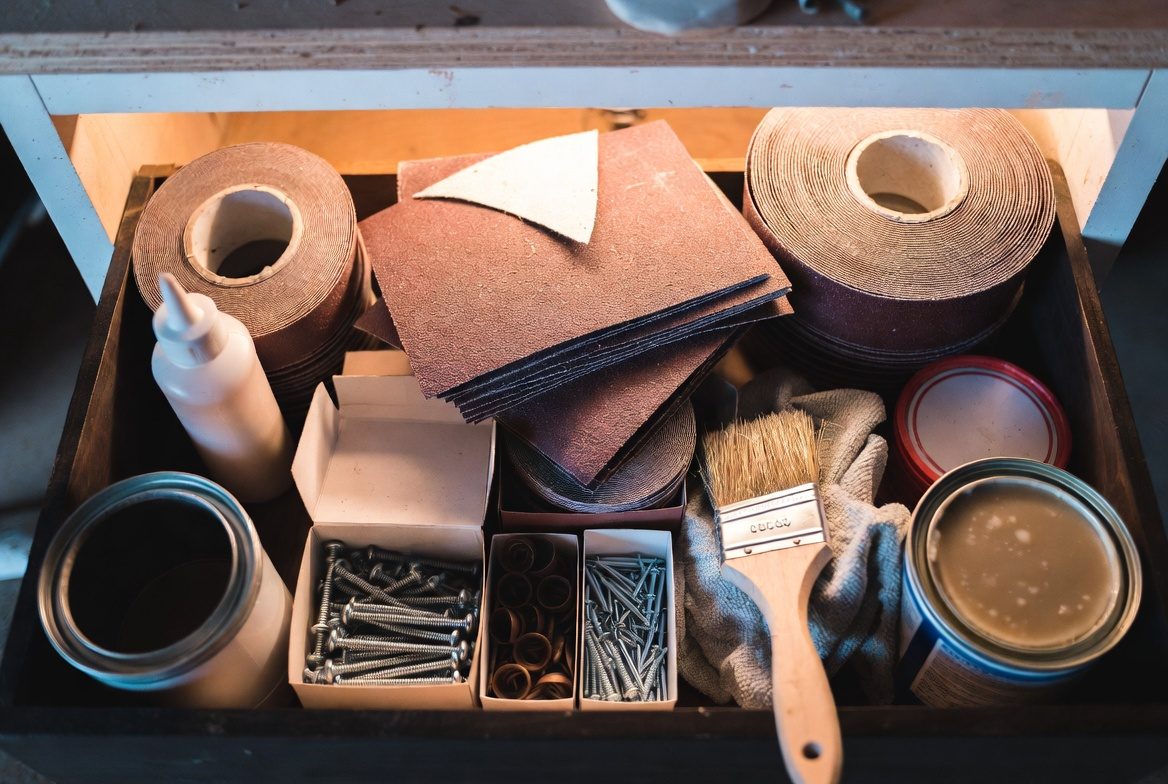
Every list of tools ever written stops at the tools. But a good hammer is a purchase you make once in your life. Sandpaper, glue, blades, screws and finish are what you will actually be buying for the next thirty years — a few dollars at a time, several times a year, without ever adding it up.
And because nobody adds it up, this is the category where people economise, and it is the worst possible place to do it.
Here is why, and it is not really about money. A cheap saw blade does not simply cut more slowly. It makes you push. A worn sanding belt does not just take longer — it makes you lean on it. Cheap screws do not merely look bad; the heads round out halfway in and now you are bearing down on a driver with a bit that is no longer gripping anything.
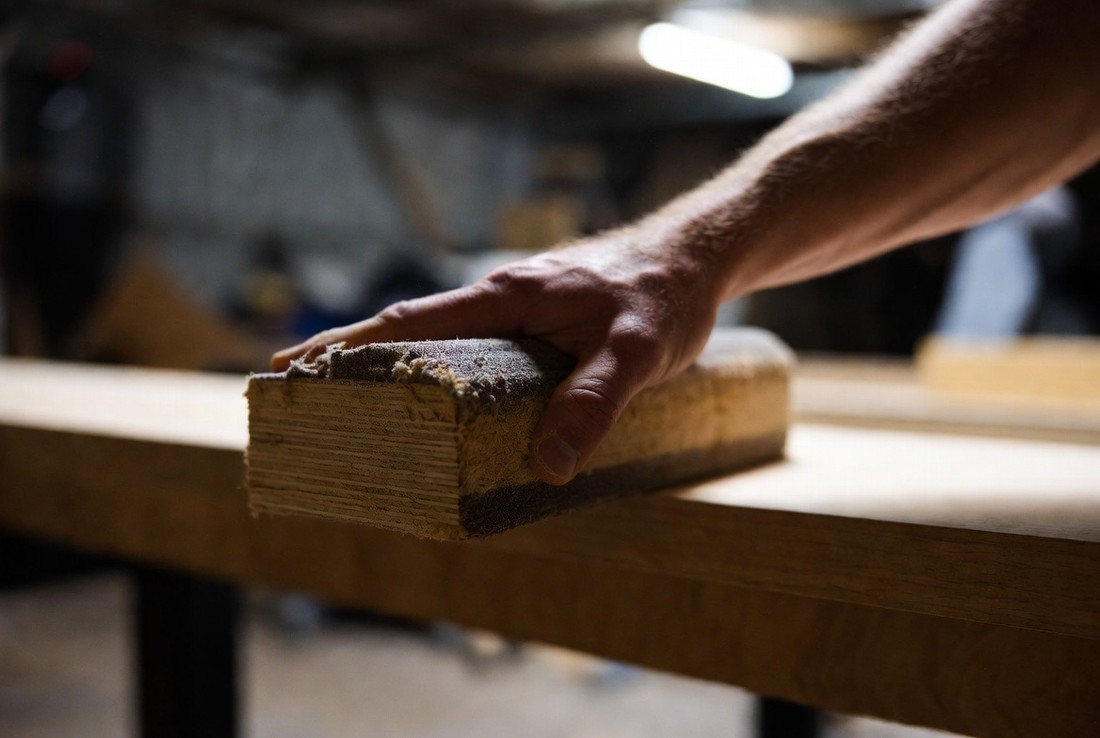
Pushing is where the injuries are. Not in the tool being powerful — in the hand being asked to supply what the edge is no longer supplying. That is true at any age and it becomes true faster after sixty, when grip strength is quietly declining and the compensation is automatic and unnoticed. A sharp blade is a safety feature that costs four dollars. A blunt one is a hand injury waiting for a Saturday afternoon.
The other half of this is simply knowing what to keep in the drawer. Nearly every job that gets abandoned halfway through is abandoned because of a consumable, not a tool — the right screw in the wrong length, glue that went off in the bottle two summers ago, one sheet of the grit you actually needed. None of it costs much. All of it stops the job dead at four o'clock on a Sunday when nothing is open.
Below: the surface-work tools worth owning, then the supplies worth keeping in quantity — with the amounts that make sense for a household rather than a job site.
The argument for buying tools once, and the order to buy them in, is on the main toolkit page. This page is about everything that runs out.
Finishing and Surface Work Tools
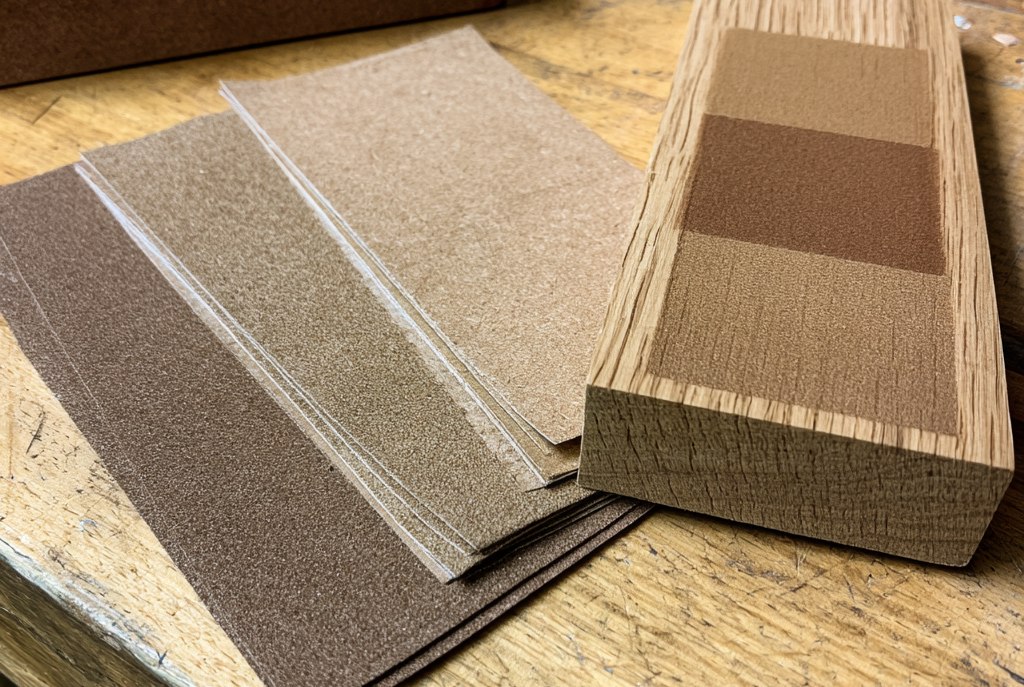
A putty knife is a flat blade on a handle used to apply, smooth, and scrape. The flexibility of the blade determines its use: a flexible blade applies and feathers joint compound, spackle, and wood filler because it bends to the surface contour and spreads material smoothly. A stiff blade scrapes because it holds its shape under force and pops material off the surface without deflecting. The width determines what fits where: 1.5 inches for tight corners and small patches, 3 inches for most repairs, 5–6 inches for applying filler over larger areas and feathering edges. Paired with a heat gun, a stiff putty knife becomes a paint stripper — heat the paint until it bubbles, slide the knife under it, and it lifts off in long strips.
- Filling nail holes and small dents — flexible knife applies spackle flush; let dry, sand, paint
- Applying joint compound over tape and screws — the flexible 6-inch knife feathers the edges flat
- Scraping old paint and putty from window sills and trim — stiff knife plus heat gun removes layers that sanding alone won’t touch
- Removing old caulk from joints — the stiff blade works under the caulk bead and pops it free
- Applying wood filler to damaged trim and furniture — the flexible blade applies and smooths wood filler into voids and gouges
- Opening stuck paint cans — the stiff 3-inch pries the lid without bending it the way a screwdriver does
- Cleaning dried adhesive from floors — the stiff wide blade scrapes dried construction adhesive and flooring adhesive from concrete and wood subfloors
- Removing wallpaper — after soaking, the wide flexible blade slides under the paper and peels it without gouging the drywall beneath
- Flexible blades won’t scrape — trying to scrape with a flexible blade just deflects the blade and leaves the material. Use the stiff blade for scraping, the flexible for applying.
- Cheap blades rust — stainless steel blades are worth the small price difference. A rusted blade leaves rust stains in white spackle and joint compound.
- The handle matters for grip — for older hands, a wider rubber-grip handle reduces the force needed to scrape. Avoid thin metal or plastic handles.
Hyde Tools and Red Devil make reliable sets worth buying new. A 4-piece set covering 1.5”, 3”, and 6” in both flexible and stiff is the practical minimum. Find sets at garage sales — old quality putty knives with stainless blades clean up easily and last indefinitely. Check the blade for rust pitting (not just surface rust, which cleans off) and make sure the blade-to-handle joint is solid with no wobble.
A caulk gun holds a standard 10-ounce caulk tube and uses a ratcheting rod driven by a trigger to push the plunger forward at a controlled rate, extruding caulk through the nozzle in a consistent bead. The trigger controls bead size — more squeeze, more caulk. A smooth-rod (dripless) caulk gun releases trigger pressure to stop the flow; the standard ratchet type requires you to pull the rod back manually. The 5-in-1 painter’s tool is a multi-function scraper with a hook for cleaning paint rollers, a can opener, a nail puller, and a flexible blade for spreading filler. Together these two tools handle nearly every painting, sealing, and finishing prep job in a house.
- Sealing gaps around windows and doors — interior latex caulk seals air gaps; exterior silicone handles weatherproofing
- Sealing plumbing penetrations — where pipes come through walls, floors, and ceilings
- Re-caulking tubs and showers — silicone caulk at the tub-wall joint prevents water infiltration behind tile
- Applying construction adhesive — Liquid Nails and similar adhesives come in caulk gun tubes; same gun, different cartridge
- 5-in-1: cleaning paint rollers — the curved hook scrapes paint out of the roller pile for reuse or disposal
- Temporary surface sealing around fixtures — silicone caulk applied around the outside of a slow leak at a fixture joint or fitting can slow surface seepage while you arrange proper repair. This is cosmetic surface sealing only — not a repair for pressurized pipe leaks. Always have a licensed plumber assess and repair any active plumbing leak.
- Filling gaps in concrete and masonry — polyurethane caulk bonds to masonry and fills cracks that latex caulk won’t bridge
- 5-in-1 as a paint scraper on glass — held flat, the blade scrapes dried paint off windows without scratching
- 5-in-1 as a pry tool for trim — the wide blade spreads force over a larger area than a putty knife for removing thin trim without damage
- Standard caulk guns drip — after you stop squeezing, pressure in the tube continues pushing caulk out. Pull the rod back immediately after each bead or buy a dripless (smooth-rod) gun.
- Silicone caulk cannot be painted — use paintable latex caulk anywhere paint will cover the joint. Pure silicone repels paint permanently.
- Silicone is nearly impossible to remove cleanly — think before you apply it. Latex caulk is easier to remove and re-do.
Dripless smooth-rod caulk gun (Newborn or Red Devil) and a Red Devil 4-in-1 or Hyde 5-in-1 painter’s tool. The dripless gun costs a few dollars more than the standard ratchet type and eliminates wasted caulk and drips on finished surfaces. Keep on hand: a tube of paintable latex caulk for interior trim, a tube of silicone for wet areas, and a tube of polyurethane for exterior and concrete. Three tubes cover 95% of all sealing jobs in a home.
A flat pry bar is a length of hardened steel with a slight curve or rocker at one or both ends and a notch for pulling nails. You slide the thin end under whatever needs to move, position the curved section as a fulcrum against a solid surface, and push or pull the handle end. The lever multiplies your force dramatically — a 10-pound push on an 18-inch handle translates into far more force at the working end than your hands could ever apply directly. The Estwing is forged in one piece in Belleville, Illinois. No welds. No rivets. No joint where the bar meets the handle. The thing that breaks on cheap pry bars — the connection point — does not exist on an Estwing.
- Pulling nails — the notch at the tip hooks under nail heads and the rocker levers them straight out without splitting the wood
- Removing old trim and molding — slide the thin end behind the trim, work along the length, pop it free without damaging the wall
- Prying up flooring — hardwood, tile, vinyl plank — the flat end gets under the first piece and the rest follow
- Opening crates and wooden shipping boxes — the thin end splits the lid at the nail line cleanly
- Moving heavy objects small distances — slide under a refrigerator, washing machine, or cabinet and lever it across the floor without lifting
- Separating stuck or painted-shut doors and windows — the thin end breaks the paint seal without damaging the frame
- Lifting heavy objects onto dollies or casters — pry up one end, slide a furniture coaster under, repeat; no lifting required
- Spreading door frames that have swollen shut — insert the tip and apply steady outward pressure to relieve the bind without removing the door
- Demolition scraping — the flat face scrapes old adhesive, dried caulk, and tile mastic off concrete or subfloor faster than any hand tool
- Aligning bolt holes in heavy brackets — insert the tip in the hole and lever the bracket into alignment while you start the bolt
- It will damage soft surfaces without protection — always place a scrap of wood between the pry bar and any finished surface you want to protect. The rocker concentrates all the force on a small contact point.
- 18 inches is not enough for serious structural work — for moving beams, lifting floor joists, or demolishing walls, a longer wrecking bar (30”+) is the right tool.
- The thin tip can slip — especially on smooth painted surfaces. A sharp tap with a hammer seats the tip firmly before you apply lever force.
The Estwing 18” flat pry bar (model EB-18) is the standard. Forged in Belleville, Illinois, lifetime guarantee, available new or used. Find them at garage sales and estate sales — a used Estwing pry bar is indistinguishable from new because there are no joints to fail and the steel doesn’t wear out. Check the tip: it should be thin and sharp, not mushroomed or bent. The nail notch should be clean and open. Those two things tell you everything about the bar’s condition.
Consumables and Shop Supplies
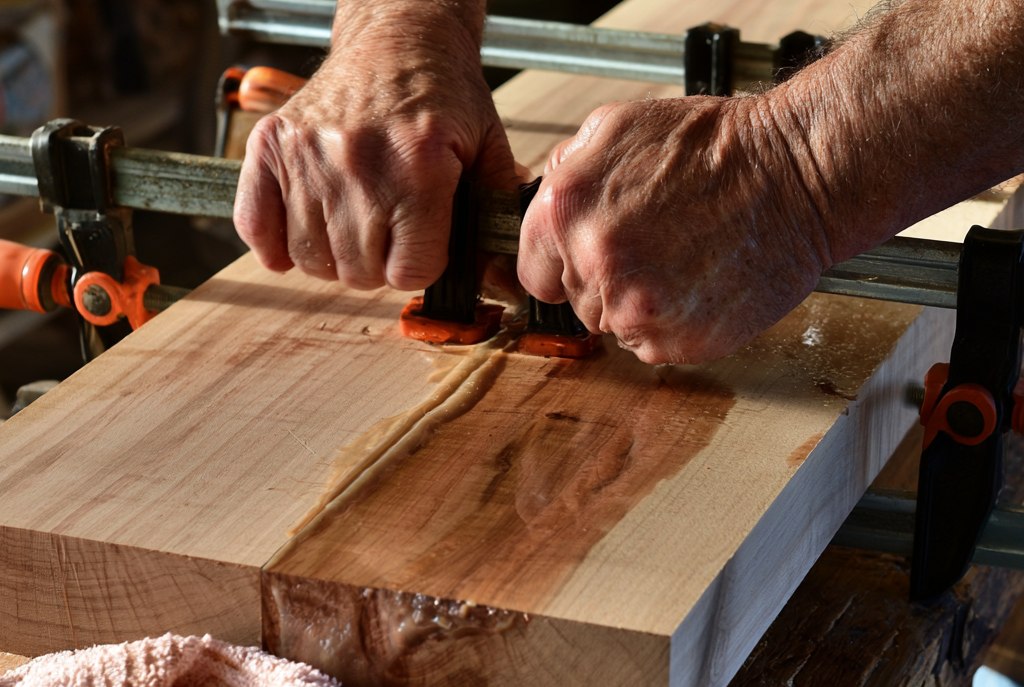
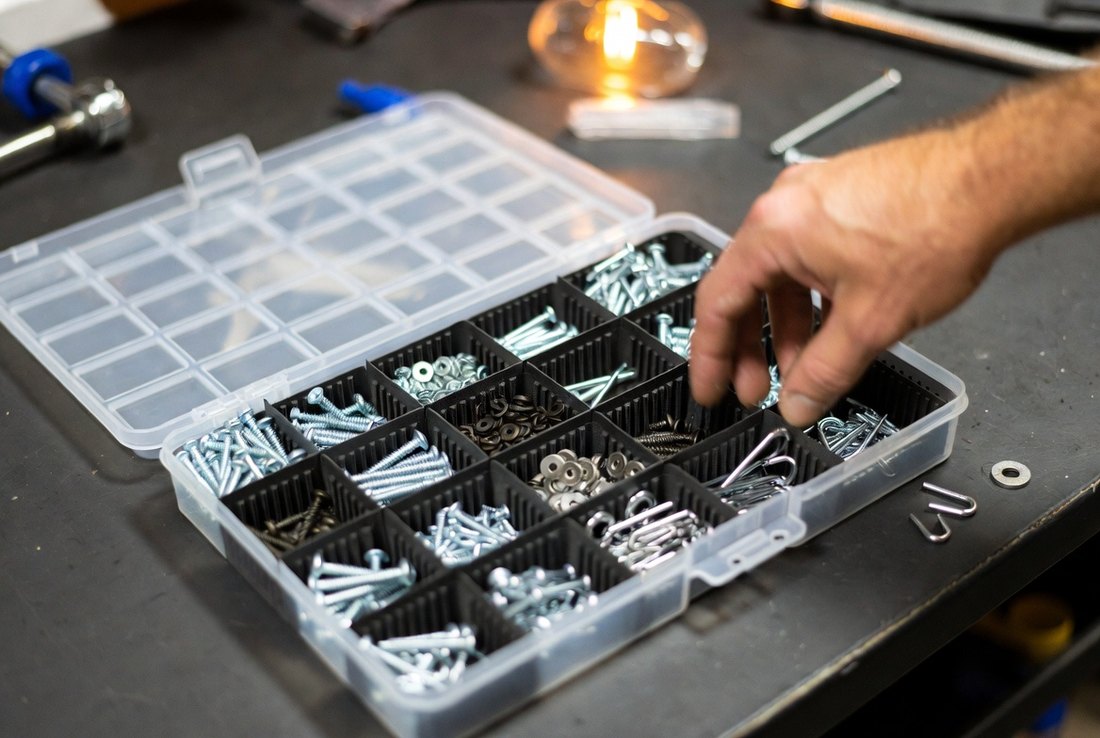
A hardware variety kit is a sorted collection of the fasteners you actually run out of mid-job. Wood screws in #6, #8, and #10 in multiple lengths. Drywall screws. Sheet metal screws. Common nails. Finishing nails. Hex bolts, nuts, and flat washers in 1/4”, 5/16”, and 3/8”. Eye bolts. Picture hooks. Wall anchors. All sorted into labeled compartments in a plastic organizer box. The point is not to have every fastener ever made — it’s to have the twelve fastener types you need 90% of the time, on hand, organized, so you finish the job instead of driving to the hardware store for one screw.
- Replacing missing screws in furniture and appliances — the right size is in the kit; the job takes two minutes instead of a hardware store trip
- Hanging pictures and mirrors — picture hooks, wall anchors, and the right screw length for the stud are all in one box
- Repairing loose cabinet hinges and drawer slides — slightly larger screw in the same hole fixes a stripped hinge mount in 30 seconds
- Securing outdoor hardware — gate hinges, fence brackets, deck hardware all use 5/16” or 3/8” hex bolts with washers
- Emergency repairs mid-project — when you realize you’re two screws short of finishing a job, the kit has them
- Repairing stripped screw holes — the next size up screw from the kit bites fresh wood and holds; no filler, no dowel, no waiting
- Building temporary jigs and fixtures — having assorted bolts and nuts means you can bolt scrap wood together into a drill guide, clamping jig, or work stop instantly
- Replacing lost hardware on used tools — that garage sale find missing one bolt becomes usable the same day
- Kits get disorganized fast — without discipline, the compartments mix and the kit becomes useless. Label every compartment. Return every unused fastener. Spend two minutes re-sorting after every job.
- No specialty fasteners — concrete anchors, lag screws, structural bolts, and specialty hardware are not in a variety kit. Buy those for specific jobs.
- Quality varies — cheap kits have soft fasteners that strip on first use. Look for kits with hardened screws (zinc or black oxide coating) rather than bright chrome-plated imports.
Look for a kit with at least 500 pieces across 20+ fastener types, in a divided organizer with a secure latch. Hillman, Stanley, and Everbilt make reliable hardware kits sold at home improvement stores. Buy the largest kit that fits your storage space — you will use everything in it over time. Add a cheap label maker (Brother P-Touch) and label every compartment the day you open the kit. That one step determines whether the kit stays useful for 20 years or becomes a junk drawer in six months.
Super glue (cyanoacrylate) is a one-part adhesive that bonds almost instantly when it contacts moisture — including the moisture on most surfaces and the moisture in air. It bonds ceramics, glass, metal, rigid plastics, rubber, and skin. Gel formula stays where you put it instead of running. It creates a rigid bond with almost no gap-filling ability — the surfaces must fit together closely. JB Weld epoxy stick is a two-part putty — a core of one compound wrapped in a sleeve of another. You cut a section, knead it together until the color is uniform, then press it into place. It fills gaps, rebuilds missing material, and sets hard enough to drill, tap, sand, and paint. SteelStik bonds to metal and withstands high heat. KwikWood fills wood and takes paint. MarineWeld works underwater and on wet surfaces. Between the two products, there is almost nothing in a home that cannot be temporarily or permanently repaired.
- Repairing broken ceramics and pottery — super glue bonds porcelain, ceramic tile, and pottery invisibly if the pieces fit cleanly
- Rebuilding stripped screw holes — KwikWood fills the stripped hole, sets hard, and accepts a screw in 20 minutes
- Stopping leaks in metal pipes and fittings — SteelStik seals pinhole leaks and crack leaks in copper, iron, and steel temporarily or permanently
- Reattaching loose trim, molding, and veneer — super glue gel bonds wood-to-wood and wood-to-paint without clamping pressure
- Repairing broken handles and hardware — tool handles, drawer pulls, cabinet knobs — epoxy stick rebuilds what’s missing and holds under load
- Reattaching loose veneer and wood edging — a tiny drop of super glue gel bonds thin wood veneer back to a substrate instantly without clamps or curing time.
- Stopping a stripped bolt from spinning — a tiny drop of super glue between the bolt head and the surface holds it while you tighten the nut from the other side
- Rebuilding missing threads — SteelStik packed into a stripped nut or bolt hole, allowed to partially set, then threaded with the correct bolt, creates a new thread that holds surprisingly well
- Bonding unlike materials — metal to rubber, wood to plastic, ceramic to metal — epoxy stick is nearly the only adhesive that works across all of these combinations
- Super glue bonds skin instantly — and it bonds your fingers together if you’re not careful. Keep acetone (nail polish remover) nearby to dissolve it. Don’t panic — skin naturally releases from super glue bonds within a day or two.
- Super glue has no gap-filling ability — if the pieces don’t fit closely, the bond is weak. For gaps, use epoxy stick.
- Epoxy stick requires thorough kneading — streaks of unmixed material don’t harden. Knead until the color is completely uniform.
- Neither is structural — a repaired load-bearing joint, a cracked frame, or a broken support beam needs proper repair. These products are for non-structural work only.
Super glue gel (Loctite or Gorilla Glue gel formula, not the liquid) plus JB Weld SteelStik and KwikWood sticks. Buy two of each — these products dry out or harden in the package if opened and stored improperly. Keep super glue in a small airtight bag in the refrigerator to extend shelf life. JB Weld sticks last years sealed. MarineWeld is worth adding if you have any outdoor plumbing, boats, or vehicles. Having all three in the shop means almost no repair has to wait for a hardware store trip.
Electrical tape is a vinyl tape with a rubber adhesive rated to insulate wire splices at household voltages (600V for 3M Scotch 88, the professional standard). It stretches to conform to irregular shapes, stays pliable in cold, and doesn’t harden and crack over time the way cheap vinyl tape does. Multiple colors let you mark wires by function — black for hot, white for neutral, green for ground, red for the second hot in 240V circuits — so future repairs start with correct identification instead of guesswork. Small gauge hookup wire (18 AWG to 22 AWG) handles the low-voltage wiring that fails most often in a home: lamp cords, appliance leads, doorbell wire, thermostat wire, speaker wire, and automotive wiring. These two supplies cover probably 80% of all household wiring repairs that don’t require opening a panel.
- Repairing lamp cords and appliance cables — re-splice a broken wire, wrap each conductor separately, then wrap the assembly — lamp works again
- Marking wire function — wrap a band of colored tape at each end of a wire to identify its purpose before pulling it through a wall
- Temporary insulation on splices — when you need the circuit working before you close the wall, electrical tape holds safely until the permanent connection is made
- Wrapping tool handles — a cracked or slippery screwdriver or plier handle gets a layer of electrical tape that improves grip immediately
- Bundling cables — wrap a loop of electrical tape around a cable bundle to keep cords organized without damaging the insulation the way zip ties can
- Temporary thread locker — wrap a few layers of electrical tape over a nut and bolt that keeps vibrating loose — holds until you can get proper Loctite
- Protecting surfaces from tool marks — wrap the jaws of Channellock pliers in electrical tape before gripping a chrome fixture; no marks left on the finish
- Depth marking on drill bits — wrap a band of tape on the bit at the depth you want; stop drilling when the tape reaches the surface
- Emergency zipper pull — a loop of electrical tape threaded through a broken zipper pull works until you can get a replacement
- Electrical tape is not a permanent splice — for permanent wiring inside walls, use wire nuts or push-in connectors. Electrical tape over bare wire is a temporary fix only.
- Cheap tape unravels and loses adhesion — 3M Scotch 33+ and 88 are the standards. The dollar-store version hardens, cracks, and falls off. Buy name brand.
- Small gauge wire has current limits — 22 AWG handles about 1 amp, 18 AWG about 5 amps. Don’t use hookup wire for appliances that draw more than that.
3M Scotch 33+ or 88 in black (two rolls), plus one roll each in red, white, green, and yellow. For wire: 18 AWG in black, white, red, and green — 25 feet of each covers years of repairs. Add a wire stripper that handles 18–30 AWG — the Klein 11055 is the standard. Wire nuts in red and yellow sizes cover most splice sizes. Store it all together in a small labeled bag or box so it’s always in one place when you need it.
The 12-inch flat pry bar is a smaller, more nimble companion to the 18-inch bar. Where the 18-inch is the workhorse, the 12-inch gets into cabinet interiors, between drawer faces and boxes, inside door frames, and anywhere the longer bar is too unwieldy. The Wonder Bar design (flat with a curved nail slot at each end) is particularly versatile because both ends work and neither end has a large head that catches on trim and molding. It fits in a tool belt or apron pocket and comes out ten times a day on any interior work project.
- Opening paint cans — the thin end slides under the lid and levers it up cleanly without bending the lid the way a screwdriver does
- Removing small trim and molding — shoe molding, base cap, door stop — the 12” fits behind pieces the 18” can’t reach
- Pulling small nails and staples — the nail slot at each end captures nail heads and levers them straight out
- Separating glued furniture joints — tap the thin end into the joint and use the bar as a wedge to break the old glue bond
- Removing stubborn staples from wood flooring — the thin tip slides under staple crowns that a regular staple remover can’t reach in tight corners
- Popping up carpet tack strips — slide the tip under the tack strip and lever it up without damaging the subfloor the way a larger bar would
- Adjusting door strike plates — tap the Wonder Bar behind a loose strike plate to shift it slightly without removing it entirely
- Less leverage than the 18” — for anything requiring serious force, use the longer bar. The 12” is for precision, not power.
- Still marks surfaces — always use a scrap of wood as a pad between the bar and any finished surface you want to protect.
Stanley FatMax Wonder Bar (12”) or the Estwing 12” flat bar. Either is the right answer. The Wonder Bar is lighter and more versatile; the Estwing is one-piece forged and more durable. Buy whichever you find first at a fair price — this is a secondary tool and not worth spending a lot on when the 18” Estwing is doing most of the real work.
🧰 The Rest of the Toolkit
This started as one very long page and was split into four, because nobody reads twenty-six thousand words in a sitting. Each part stands on its own.
❓ Plain Answers
The short version of this page, one question at a time — the answer is always the first line.
Can you paint over silicone caulk?
No, silicone caulk cannot be painted, so use paintable latex caulk anywhere paint will cover the joint. Pure silicone repels paint permanently.
What kinds of caulk should I keep at home?
Keep three tubes: paintable latex caulk for interior trim, silicone for wet areas, and polyurethane for exterior and concrete. Three tubes cover 95% of all sealing jobs in a home.
What is the difference between super glue and epoxy putty?
Super glue bonds closely fitting pieces almost instantly, while an epoxy stick is a two-part putty that fills gaps, rebuilds missing material and bonds unlike materials. Neither one is for structural repairs.
How do I get super glue off my fingers?
Acetone, which is nail polish remover, dissolves super glue, and skin naturally releases from a super glue bond within a day or two.
How do I fix a stripped screw hole?
Use the next size up screw, which bites fresh wood and holds, or fill the hole with KwikWood epoxy, which sets hard and accepts a screw in 20 minutes.
Why is a dull blade or worn sandpaper dangerous?
A dull blade or worn sandpaper makes you push, and pushing is where hand injuries happen. That becomes true faster after sixty, when grip strength is quietly declining. A sharp blade is a safety feature that costs four dollars.