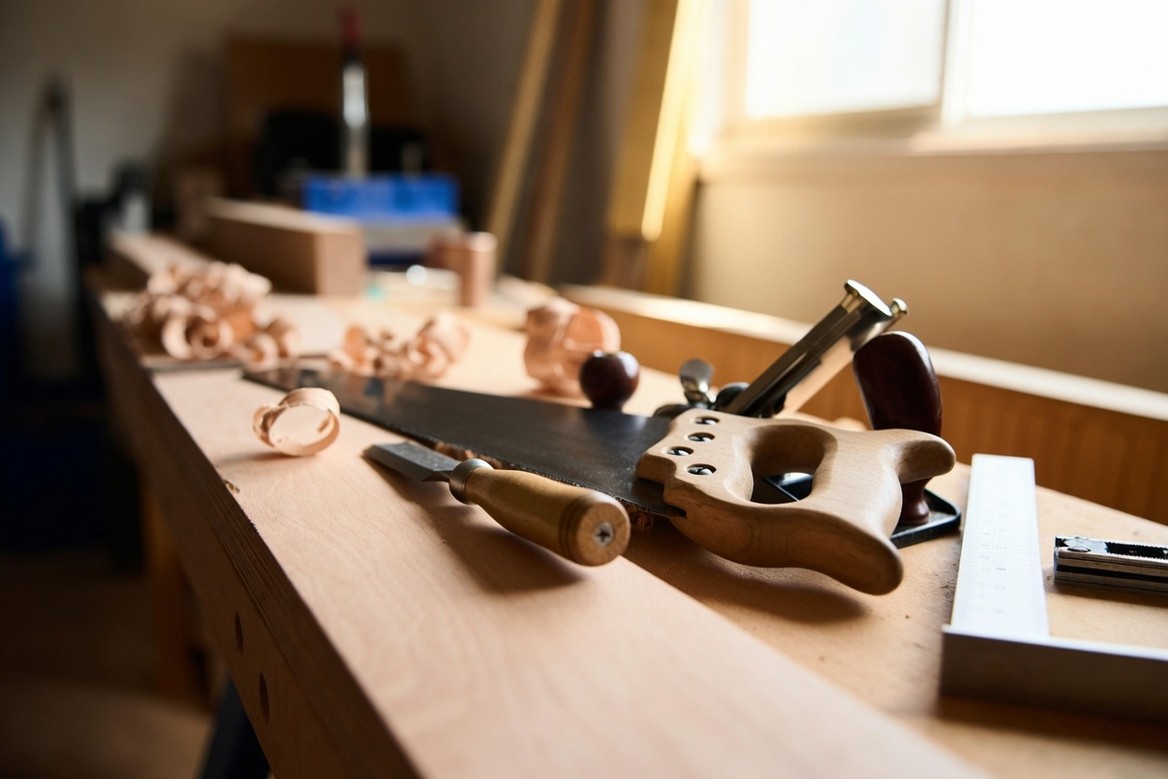
Every job in a workshop is really two jobs. Deciding where the cut goes, and then getting the blade to go there. Almost everything that ends badly went wrong in the first one — and it went wrong quietly, which is why people blame themselves for the second.
Here is the thing nobody explains about a cheap square. If it is not actually square, it does not tell you so. It gives you the same wrong answer every time, with total confidence. You mark the line, you cut carefully, the joint does not close — and you conclude that you cannot saw straight. You sawed perfectly. You were handed a bad line and you followed it faithfully.
That is what separates this family from every other tool in the workshop. A blunt chisel announces itself immediately. It tears instead of slicing, and you know within one cut. A lying square never announces anything at all. It just quietly ruins work for twenty years while its owner slowly decides he is not much good at this.
The two-minute test that settles it, and you can do it in the shop before you buy. Hold the square against a factory edge — the straight side of a sheet of plywood will do — and draw a line along the blade. Now flip the square over, put it against the same edge at the same spot, and draw the line again. If the two lines sit exactly on top of each other, the square is true. If they diverge even slightly, you are looking at twice the error, and that tool will lie to you for the rest of its life.
The other half of this page is the cutting itself, and the reason it is worth buying properly is simpler still: every mistake here is permanent. You can back a screw out. You can scrape off glue that has not set. You can re-hang a door that binds. You cannot put three-quarters of an inch back on a board, and the piece you cut it from is usually the expensive one.
Below: the saws, chisels and planes that shape the wood, then the squares, rules and gauges that tell them where to stop. What to buy, what to pay, and which ones are worth hunting for second-hand.
New here? The general argument for buying tools once — and the order to buy them in — is on the main toolkit page. This page assumes you have settled that and want to know which saw.
Cutting and Shaping Tools
A hacksaw cuts metal, plastic, and any other material harder than wood using a replaceable blade stretched tight in a C-frame. The blade has fine teeth — 18 to 32 teeth per inch — that take small bites with each stroke. TPI (teeth per inch) determines what it cuts well: 24-TPI for steel, copper, and aluminum; 18-TPI for plastic pipe, conduit, and softer materials. The blade is cheap and replaceable — when it dulls, you replace it, not the tool. A good hacksaw frame lasts a lifetime. The blades are consumables.
- Cutting bolts to length — when a bolt is too long, a hacksaw cuts it cleanly; a file removes the burr
- Cutting plastic pipe and conduit — PVC, CPVC, EMT conduit, and ABS pipe all cut cleanly with 18-TPI
- Cutting copper pipe — when a pipe cutter won’t fit, a hacksaw reaches anywhere
- Cutting metal rod, bar stock, and threaded rod — 24-TPI handles all standard hardware store metal stock
- Removing rusted bolts and screws — cut a slot in a rusted bolt head and drive it with a flat screwdriver; or cut the bolt off entirely
- Cutting ceramic tile in tight spaces — a 24-TPI blade cuts tile slowly but accurately in places a tile saw won’t reach
- Cutting fiberglass and carbon fiber — fine-tooth hacksaw blades handle composite materials that destroy wood saws
- Making a slot in a stripped screw head — cut a new flat-head slot across a damaged Phillips head so a flat screwdriver can back it out
- Blades dull quickly on hard steel — hardened bolts, stainless steel, and tool steel eat blades fast. Buy bi-metal blades, not carbon steel — they last significantly longer on hard materials.
- The blade must be tight — a loose blade wanders, breaks, and cuts poorly. Check blade tension before every use.
- Slow compared to power tools — for high-volume cutting, an angle grinder or reciprocating saw is faster. The hacksaw earns its place for precision cuts and tight spaces.
Any quality hacksaw frame with blade tension adjustment — Stanley, Irwin, and Lenox all make good ones. The frame is forever; buy it once. Buy bi-metal blades in both 18-TPI and 24-TPI — at least 5 of each. Bi-metal blades have a high-speed steel cutting edge welded to a flexible alloy steel back — they outlast carbon steel blades 5 to 1 on hard materials. Keep a pack of spare blades in the toolbox at all times.
A crosscut hand saw cuts wood perpendicular to the grain — across the board — using a row of sharpened teeth that each remove a small chip of wood with every stroke. A good modern hand saw with hardened teeth cuts faster than most people expect and leaves a cleaner edge than a circular saw without a fine-tooth blade. The 15-inch blade length handles any board width you’ll encounter in a house. No electricity, no extension cord, no setup time — for a single cut, the hand saw is often faster than finding and setting up a power saw.
- Trimming door jambs for new flooring — undercut jambs so flooring slides underneath cleanly
- Cutting lumber to rough length — 2x4s, 2x6s, and dimensional lumber for framing and repairs
- Cutting plywood and sheet goods — crosscut across the panel width for manageable pieces
- Pruning large branches — a crosscut saw handles branches too large for loppers
- Any single cut where a power saw is overkill — trim one board, cut one piece of molding, shorten one shelf
- Cutting drywall — score with a utility knife and snap, or cut curves and odd shapes with the hand saw directly
- Cutting fiberglass insulation batts — a sharp hand saw cuts through batt insulation cleanly without compressing it the way a utility knife does
- Starting a cut in an awkward spot — the hand saw reaches into corners, against walls, and at angles that power saws can’t manage
- Tires your arm faster than a power saw — for more than a few cuts, fatigue sets in. The hand saw is for occasional cuts, not production work.
- Modern hardened-tooth saws cannot be sharpened — the teeth are impulse-hardened and too hard to file. When the saw dulls, replace it. They’re inexpensive enough that this is fine.
- Wandering on long cuts — use a straight edge or a speed square to guide the first few strokes and establish the kerf before cutting freehand.
Any modern hand saw with hardened teeth — Stanley FatMax, Irwin, or Suizan. The modern induction-hardened tooth saws cut three times faster than old-style saws and the blades are cheap to replace. A 15-inch blade handles everything in a home. Look for 8-10 TPI for general crosscutting. Japanese pull saws cut on the pull stroke and leave an exceptionally clean edge — worth buying as a second saw for finish work.
A utility knife holds a replaceable trapezoidal blade in a metal body with a retractable mechanism. The blade extends when you need it, retracts when you don’t. The replaceable blade is the key insight: when the blade dulls — which happens faster than most people realize — you snap off the tip or swap the blade entirely and you have a sharp knife again in ten seconds. A dull blade requires more force, wanders off the cut line, tears instead of cuts, and is far more likely to slip and cut you. The metal body lasts indefinitely. The blades are cheap. Change them constantly.
- Scoring and snapping drywall — score deeply with the knife, snap over a straight edge, cut the paper backing
- Cutting carpet and flooring — vinyl plank, carpet, sheet vinyl, rubber flooring — all cut cleanly with a sharp blade
- Opening boxes and packaging — faster and safer than scissors for heavy cardboard and strapping tape
- Trimming caulk beads — cut old caulk lines clean before recaulking
- Stripping wire insulation — score the insulation lengthwise and peel it away when a wire stripper isn’t handy
- Scribing trim to an irregular wall — run the knife along the wall contour against the back of the trim to mark the exact cut line
- Cutting rope, webbing, and zip ties — cleaner than scissors on thick material, faster than wire cutters on webbing
- Cleaning paint from window glass — held flat against the glass, the blade scrapes dried paint without scratching
- Starting nails in tight spots — score a small pilot mark in wood with the blade tip so a nail starts straight without splitting
- Most cuts that go wrong are from dull blades — a dull blade requires force and slips. Change the blade the moment it starts to drag. Blades are cheap. Emergency room visits are not.
- Always cut away from your body — the blade goes where force takes it. If it slips, it should go away from you, not toward you.
- Retract before setting down — a utility knife set down with the blade extended is a guaranteed cut for whoever picks it up next.
Stanley FatMax or Irwin ProTouch — metal body, comfortable grip, smooth blade retraction. Never buy a plastic-body utility knife — the body flexes under load and the blade release mechanism fails. Buy a 50-pack of blades at the same time. Keep the knife in your tool belt or apron pocket — the utility knife is the tool you reach for 20 times a day on any project, and if it’s in the toolbox across the garage you’ll stop reaching for it.
A wood chisel is a steel blade with a flat cutting edge, driven by hand pressure or a mallet, that removes precise amounts of wood from a surface. The bevel on the cutting edge determines the cut angle — bevel down for roughing out material, bevel up for paring fine cuts. The three sizes cover the most common jobs: 1/4-inch for tight slots and detail work, 1/2-inch for most hinge mortises and general paring, 1-inch for cleaning out wide notches and broad surfaces. A sharp chisel takes a thin shaving of wood cleanly. A dull chisel tears and requires force, which makes it dangerous and inaccurate.
- Mortising door hinges — the most common homeowner chisel job. Mark the hinge outline, score the perimeter, remove the wood to the right depth so the hinge sits flush
- Cleaning up notches cut by a saw — a saw leaves a rough bottom; the chisel pares it flat and smooth
- Fitting door strike plates — the strike plate mortise and the bolt pocket behind it both require chisel work
- Removing old putty and caulk from wood joints — the chisel tip gets under old material and pops it out without damaging the surrounding wood
- Splitting wood along the grain — place the chisel in the grain and tap; the wood splits cleanly along its natural lines
- Removing dried glue from wood joints — the flat back of the chisel scrapes dried PVA glue cleanly off wood surfaces
- Opening paint-sealed windows — run the chisel edge along the paint seal between the sash and the stop to break the bond without damaging the wood
- A dull chisel is dangerous — dull tools require force, force causes slipping, slipping causes cuts. Keep chisels sharp. A honing guide and a sharpening stone cost less than one emergency room visit.
- Never use a chisel as a pry bar — the blade is hardened for cutting, not for bending loads. Prying with a chisel snaps the blade.
- Plastic handles crack under mallet blows — buy wooden-handled chisels. The wood compresses slightly under impact and doesn’t shatter the way plastic does.
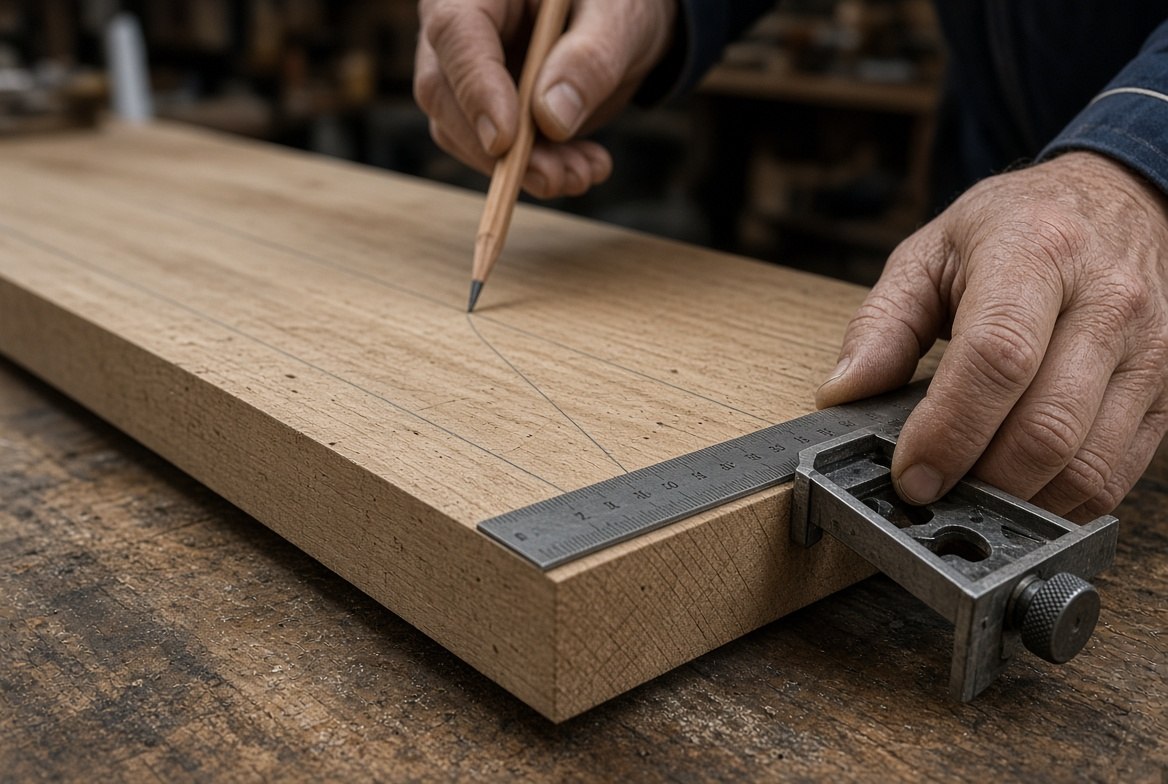
Stanley 16-Series, Buck Brothers, or Narex — three-piece set in 1/4”, 1/2”, and 1”. Find old American-made chisels at garage sales — Stanley chisels from the 1950s–1980s are excellent tools that sharpen beautifully and outlast new imports. Check the tip for chips or cracks. A chisel with a slightly dull edge is fine — you’ll sharpen it anyway. A chisel with a chipped or broken tip needs grinding before it’s useful, which is more work than it’s worth unless it’s free.
A file is a hardened steel tool with rows of cutting teeth that remove small amounts of metal, plastic, or wood with each stroke. The four profiles serve different jobs: the flat file smooths flat surfaces and removes burrs from cut edges; the round file (rat-tail) enlarges holes and smooths curved inside surfaces; the half-round does both — flat work on one side, curved work on the other; the triangular file sharpens saw teeth and gets into V-shaped grooves. Files are cut in single-cut (one row of teeth) for fine work and double-cut (two crossing rows) for fast material removal. The key accessory is a file card — a wire brush that clears metal chips from the teeth before they build up and scratch the work.
- Removing burrs from cut metal — after a hacksaw or angle grinder cut, the flat file removes sharp edges in seconds
- Sharpening lawn mower blades — a flat bastard file puts a working edge back on a dull mower blade without removing it from the mower
- Fitting metal parts — when a bracket, hinge, or plate is slightly too large, the file removes material precisely until it fits
- Enlarging holes slightly — when a drilled hole is 1/32 too small for a bolt, the round file opens it without drilling again
- Smoothing rough pipe ends — after cutting copper or PVC, the file removes the lip and prepares the end for a fitting
- Improving the fit of a key that sticks — a flat file removes the high spot on a key that catches in the lock
- Cleaning corroded battery terminals — the flat file removes corrosion from battery terminals and cable ends faster than sandpaper
- Deburring plastic pipe cuts — the half-round cleans inside the pipe end so it accepts a fitting without restriction
- Files only cut on the push stroke — lift the file off the work on the return stroke. Dragging it back loads the teeth with chips and dulls them.
- Clogged teeth scratch instead of cut — use the file card every few strokes. A clogged file is nearly useless and damages the work surface.
- Files are brittle — they are hardened throughout and will snap if dropped or used as a pry bar. They are cutting tools, not levers.
A 4-piece set — flat, round, half-round, triangular — in bastard cut (medium coarseness). Nicholson and Simonds are the American benchmarks for quality files. Find them at garage sales — old American-made files are significantly better than new imports and last indefinitely if kept clean and stored so the teeth don’t contact other metal. Buy a file card at the same time. Without a file card, a file is half as useful.
Tin snips cut sheet metal, aluminum, flashing, hardware cloth, and duct work using two hardened steel blades that shear through material like scissors through paper. Aviation snips — the compound-action version — use a compound lever mechanism that multiplies your hand force, making cuts through heavy sheet metal manageable with one hand. The handle color tells you the cut direction: red = straight and left curves, green = straight and right curves, yellow = straight cuts only. The two you actually need are red and green — between them you can cut any shape in any sheet metal.
- Cutting aluminum flashing — around windows, chimneys, and roof penetrations; flashing comes in rolls and needs cutting to length and shape
- Cutting hardware cloth and wire mesh — for garden beds, pest exclusion, and utility applications
- Cutting HVAC duct work — sheet metal duct sections, registers, and fitting connections
- Cutting steel strapping and banding — the metal straps on freight shipments and lumber bundles
- Cutting thin sheet metal for patches and repairs — roof patches, flashing repairs, appliance housing patches
- Cutting Kevlar and aramid fabric — aviation snips cut composite and synthetic materials that destroy ordinary scissors
- Trimming rubber gaskets and weatherstripping — the compound action handles dense rubber that scissors can’t cut cleanly
- Cutting roofing shingles — asphalt shingles cut faster and cleaner with aviation snips than with a utility knife in cold weather when shingles are stiff
- Cut edges are razor sharp — freshly cut sheet metal edges will cut you faster than a knife. Wear leather gloves every time. The edge isn’t just sharp — it’s burr-edged in a way that tears rather than cuts skin.
- The cut piece curls — the waste side of a tin snips cut curls away from the blade. This is normal but makes cutting to a line harder. Score a line with a scratch awl first and cut just outside it.
- Not for heavy gauge steel — aviation snips handle up to about 18 gauge steel. Thicker material needs a nibbler, angle grinder, or plasma cutter.
Red handle (left cut) and green handle (right cut) aviation snips — Midwest Snips, Wiss, or Malco. Midwest Snips are made in the USA and are the standard for professional sheet metal workers. Buy both colors — between red and green you can cut any curve in any direction. The yellow (straight cut) is optional if you have both colors. Find them at garage sales and estate sales — quality aviation snips last indefinitely and old American-made pairs are better than most new imports.
Measuring and Marking Tools
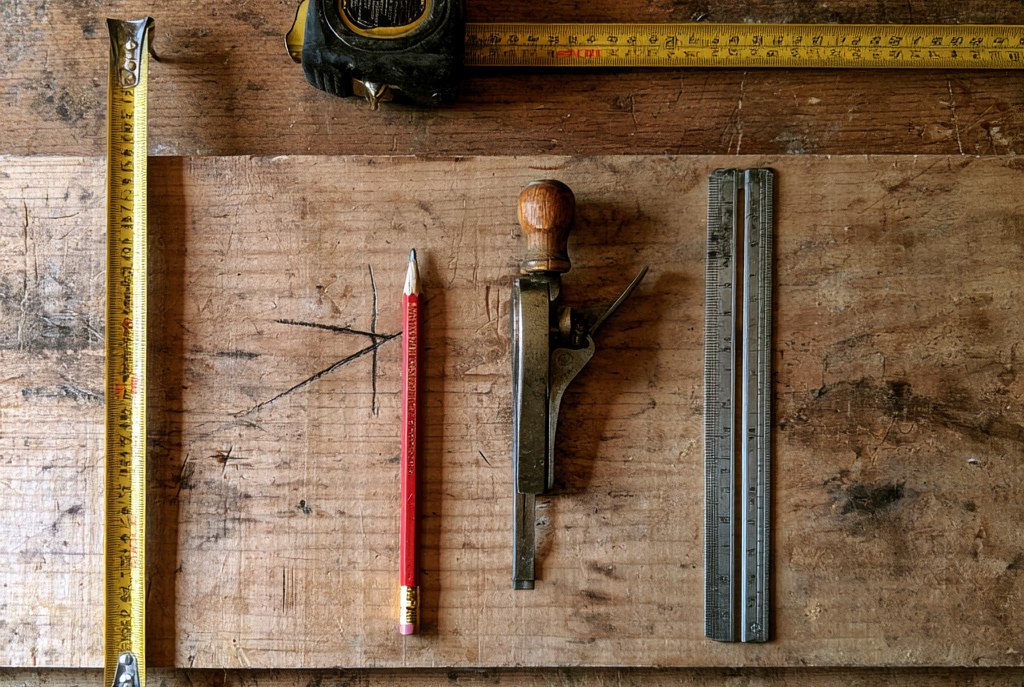
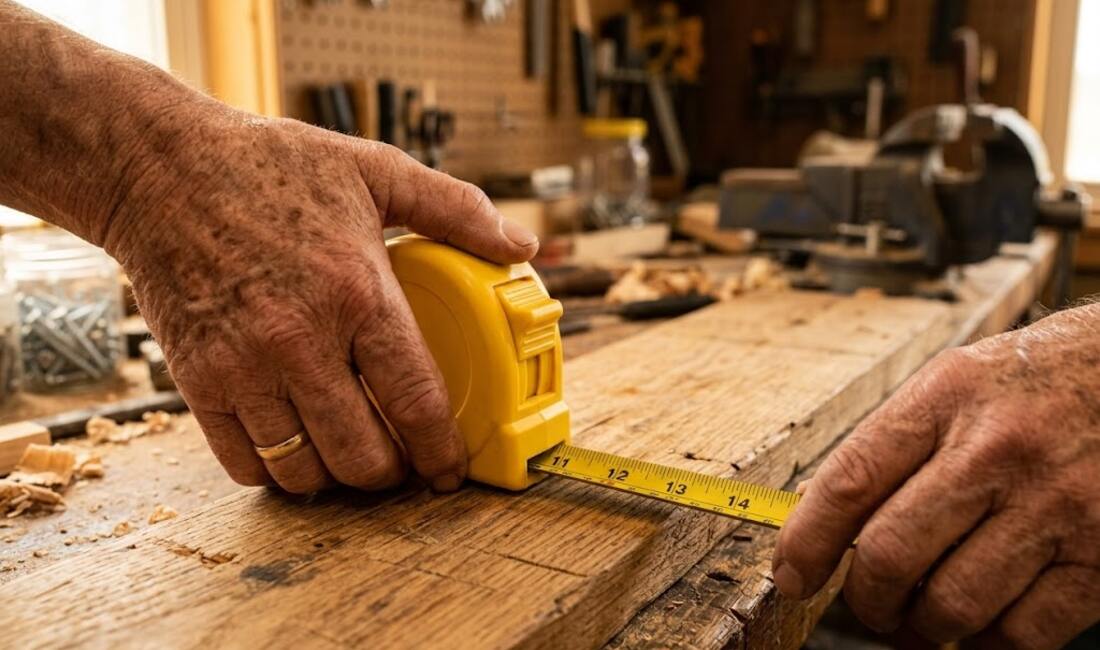
A tape measure is a coiled steel blade with inch and centimeter markings that locks in place at any length so you can read it with one hand. The hook at the end slides slightly — by exactly the thickness of the hook itself — so inside and outside measurements are both accurate without adjustment. The auto-lock button keeps the blade extended hands-free while you mark. The blade-standout spec tells you how far the blade extends horizontally before it buckles — 10 feet of standout means you can measure across a room alone without the blade collapsing before you reach the far wall.
- Measuring rooms for flooring, paint, and furniture — length, width, and diagonal to check square
- Cutting lumber and materials to length — measure twice, mark clearly, cut once
- Hanging pictures and shelves level — measure from the floor and from the side wall for consistent placement
- Rough framing — stud spacing (16” on center), header heights, door rough openings
- Buying appliances and furniture — measure the doorway, the space, and the item before you buy
- Checking if a room is square — measure both diagonals corner to corner; if they’re equal, the room is square
- Finding the center of anything — measure the total, divide by two, mark; the tape does the math visually
- Marking consistent spacing without a ruler — hook the end, extend to your spacing, mark along the blade edge repeatedly
- The hook as a scratch awl — the corner of the hook scribes a mark on wood or drywall when a pencil isn’t handy
- The blade kinks and creases — letting the blade snap back fast repeatedly damages the blade at the stress points. Press the lock before retracting.
- One-person measuring has limits — beyond 10–12 feet, you need a second person or a fixed hook point. A nail in the wall works as a third hand.
- Cheap tapes have inaccurate hooks — the sliding hook must move by exactly its own thickness. Budget tapes drift. For critical work, use a quality tape.
25 feet, auto-lock, 1-inch blade width minimum, 10-foot standout or better. The Stanley FatMax and Milwaukee 25-foot tape are the two benchmarks — both have 11-foot standout, tough blade coatings, and large easy-to-read markings. The FatMax is slightly heavier; the Milwaukee has a better belt clip. Either is the right answer. Buy a spare — tapes get left at job sites and loaned out and not returned. Keep one in the toolbox and one in the kitchen junk drawer.
A bubble level has one or more sealed vials of liquid with an air bubble inside. When the bubble centers between the two lines on the vial, the surface the level rests on is perfectly horizontal (level) or vertical (plumb), depending on which vial you’re reading. That’s the entire mechanism — no batteries, no calibration, no moving parts. The three sizes serve three different jobs: the 8-inch fits inside cabinets and on small items where a longer level won’t fit; the 16-inch handles shelves, picture rails, and door casings; the 36-inch reads countertops, long runs of trim, and cabinet installations where a short level would miss a gradual slope.
- Hanging shelves — the 16” reads the shelf directly; one person holds, the other checks and marks
- Installing door and window casings — the 8” fits the narrow reveal; the 36” checks the full door frame plumb
- Setting appliances level — refrigerators, washing machines, and dishwashers all require level installation to function correctly
- Hanging pictures in a row — rest the level on top of the frames to align a gallery wall without measuring each nail individually
- Checking floors before laying flooring — the 36” reveals high and low spots that need filling before tile or hardwood goes down
- Checking if a drain slopes correctly — a shower floor should slope 1/4” per foot toward the drain; the level confirms it
- Checking how level a parked camper or RV is — place on the floor inside to determine how many leveling blocks are needed under each wheel. Always apply wheel chocks and the parking brake before working around any vehicle on leveling blocks — never get under a vehicle supported only by leveling blocks.
- Finding the high point of a floor — slide the 36” across the floor; where the bubble moves off center is the high point that needs addressing
- Checking if a table or workbench rocks — a level tells you which leg is short before you start shimming
- They can be knocked out of calibration — dropping a level on a hard floor can shift the vial. Check calibration periodically: place on a flat surface, note the bubble position, flip the level end-for-end; if the bubble is in the same position relative to center, it’s accurate. If not, it’s off.
- Cheap vials are hard to read — the bubble should be crisp and clear. Bargain levels have cloudy vials or bubbles that move sluggishly. Buy a name-brand set.
- The 36” is awkward in tight spaces — that’s what the 8” is for. All three sizes earn their place.
Buy all three sizes at once — 8”, 16”, and 36”. Empire, Johnson, and Stanley all make reliable sets in this range. The magnetic versions are useful — the level sticks to metal surfaces and holds hands-free while you mark. Avoid the cheapest imported sets with cloudy vials. A set of three quality bubble levels costs less than a single service call for a crooked shelf installation or an unlevel appliance.
A speed square is a triangular aluminum square with a lip on one edge that hooks over the edge of a board. Hook the lip, slide it to your mark, and you have a guaranteed 90-degree line across the board — or rotate it to mark any angle from 0 to 90 degrees using the degree scale engraved along the hypotenuse. Place it against the shoe of a circular saw and it guides the saw in a perfectly straight line for crosscuts. Check the corner of a frame, a shelf, a door jamb, or any two surfaces for square in two seconds. It weighs almost nothing, fits in a shirt pocket, and every carpenter who has ever used one keeps one within reach at all times. Swanson invented this tool in 1925 and nobody has improved on the design since.
- Marking square cut lines on lumber — hook the lip, mark, cut — the fastest way to mark a 90-degree cut on any board
- Guiding a circular saw for crosscuts — hold the square against the saw shoe as a fence for a perfectly straight cut
- Checking corners for square — shelves, door frames, cabinet boxes, picture frames — any corner that should be 90 degrees
- Marking roof pitch angles — the degree scale marks any rafter angle; the common and hip/valley scales are on the hypotenuse
- Marking 45-degree cuts — miters for trim, picture frames, and molding
- As a depth gauge — the 7-inch leg measures depth of notches, mortises, and rabbets directly
- Scribing a line parallel to an edge — hook the lip on the edge, hold a pencil at the desired distance, slide along the board
- Checking plumb on small posts and door jambs — in a pinch, a level surface on the square plus a bubble level gives you plumb
- The 7-inch size limits you to boards up to 7 inches wide — for wider stock, a framing square or combination square is needed. For most homeowner work, 7 inches covers everything.
- Check it for square periodically — if a speed square is dropped or bent, it may no longer be accurate. Check it against a known square surface before trusting critical cuts.
Swanson S0101 — the original 7-inch speed square, made in Frankfort, Illinois since 1925. Accept no substitute. The Swanson is cast aluminum with engraved (not printed) markings that never wear off. Imitations have stamped or printed scales that fade and inaccurate casting that puts the degree marks in the wrong places. Find Swanson speed squares at garage sales constantly — carpenters accumulate them and they show up in every tool box. Any Swanson in any condition with no bent edges is worth buying at any price.
A stud finder locates the wood framing members (studs) hidden behind drywall. A magnetic stud finder uses a magnet to detect the drywall screws driven into studs during installation — no batteries, no calibration, works on any wall, lasts forever. Slow the magnet across the wall and it snaps toward the screw when it passes over one. An electronic stud finder detects the change in density between the hollow space between studs and the solid wood of the stud itself using capacitance sensors — it finds the edges and center of the stud but requires calibration against the wall and occasional false readings on walls with pipes, wires, or unusual construction.
- Finding studs before hanging heavy items — TVs, mirrors, shelving, artwork, cabinets — anything that needs a screw into solid wood rather than just drywall
- Locating studs for new electrical outlets and switches — outlets mount between studs; knowing where the studs are tells you where to cut
- Finding the center of a wall for hanging centered items — locate two studs, measure between them, find center
- Finding screws in painted-over wood trim — the magnetic finder locates screws buried under multiple coats of paint
- Locating floor joists through carpet — slide along the floor to find the joist screw pattern for securing squeaky floors
- The old-school method still works — knock on the wall with your knuckle. A hollow sound is between studs; a solid, slightly higher-pitched sound is over a stud. Use the finder to confirm.
- Electronic finders give false readings — pipes, wires, metal plates, and double-layered drywall all fool electronic finders. Always confirm with a small nail or the magnetic finder before driving a large screw.
- The magnetic finder only finds screws, not stud edges — it tells you a screw is here, not where the stud edge is. Studs are 1.5 inches wide — the screw is somewhere near the center.
- Modern construction varies — studs are not always 16 inches on center. Older homes, remodeled walls, and non-standard framing mean you can’t assume 16-inch spacing.
Buy both: a Studpop or CH Hanson magnetic stud finder (under $15, lasts forever, no batteries) AND a Franklin Sensors ProSensor 710 electronic finder. The Franklin Sensors unit has multiple sensors that show the full stud width simultaneously — far more reliable than single-sensor electronic finders. The magnetic one confirms what the electronic one tells you. Together they cover every situation you’ll encounter.
🧰 The Rest of the Toolkit
This started as one very long page and was split into four, because nobody reads twenty-six thousand words in a sitting. Each part stands on its own.
❓ Plain Answers
The short version of this page, one question at a time — the answer is always the first line.
How do I check if a carpenter's square is accurate?
Test a square by drawing a line along its blade against a factory edge, then flipping it over and drawing again from the same spot. If the two lines sit exactly on top of each other, the square is true. If they spread apart, the gap is twice the error.
Which hacksaw blade should I use for metal?
Use a 24-TPI hacksaw blade for steel, copper and aluminum, and an 18-TPI blade for plastic pipe, conduit and softer materials. Bi-metal blades outlast carbon steel blades 5 to 1 on hard materials.
Why does the hook on my tape measure move?
The hook on a tape measure is meant to slide by exactly its own thickness, so the tape reads true for both inside and outside measurements. It is not worn out and does not want fixing.
How do I check if a bubble level is accurate?
To check a bubble level, set it on a flat surface, note the bubble, then flip it end for end and see whether the bubble sits the same. If it does not, the level is off. Dropping a level on a hard floor can shift the vial.
Should I get a magnetic or an electronic stud finder?
A magnetic stud finder needs no batteries and finds the drywall screws in studs, while an electronic one finds stud edges but can give false readings. Buy both, and let the magnetic one confirm what the electronic one tells you.
Why does a chisel need to be sharp?
A dull chisel needs force, and force causes slipping and cuts, so a sharp chisel is the safer one. A honing guide and a sharpening stone cost less than one emergency room visit.